DIY Room Divider from repurposed vintage farmhouse doors
Home improvement and home ownership have been linked for eternity, even more so with ideas a few keystrokes away online. I am certainly not immune to the pull to improve my living space, with my latest project being a room divider for my office. After researching ready-made options, leaning on Etsy for inspiration, and scouring online images, I came up with a plan to build my own solution. All of this took on a life of its own, and I decided sharing that journey here might be inspirational to other home improvers.
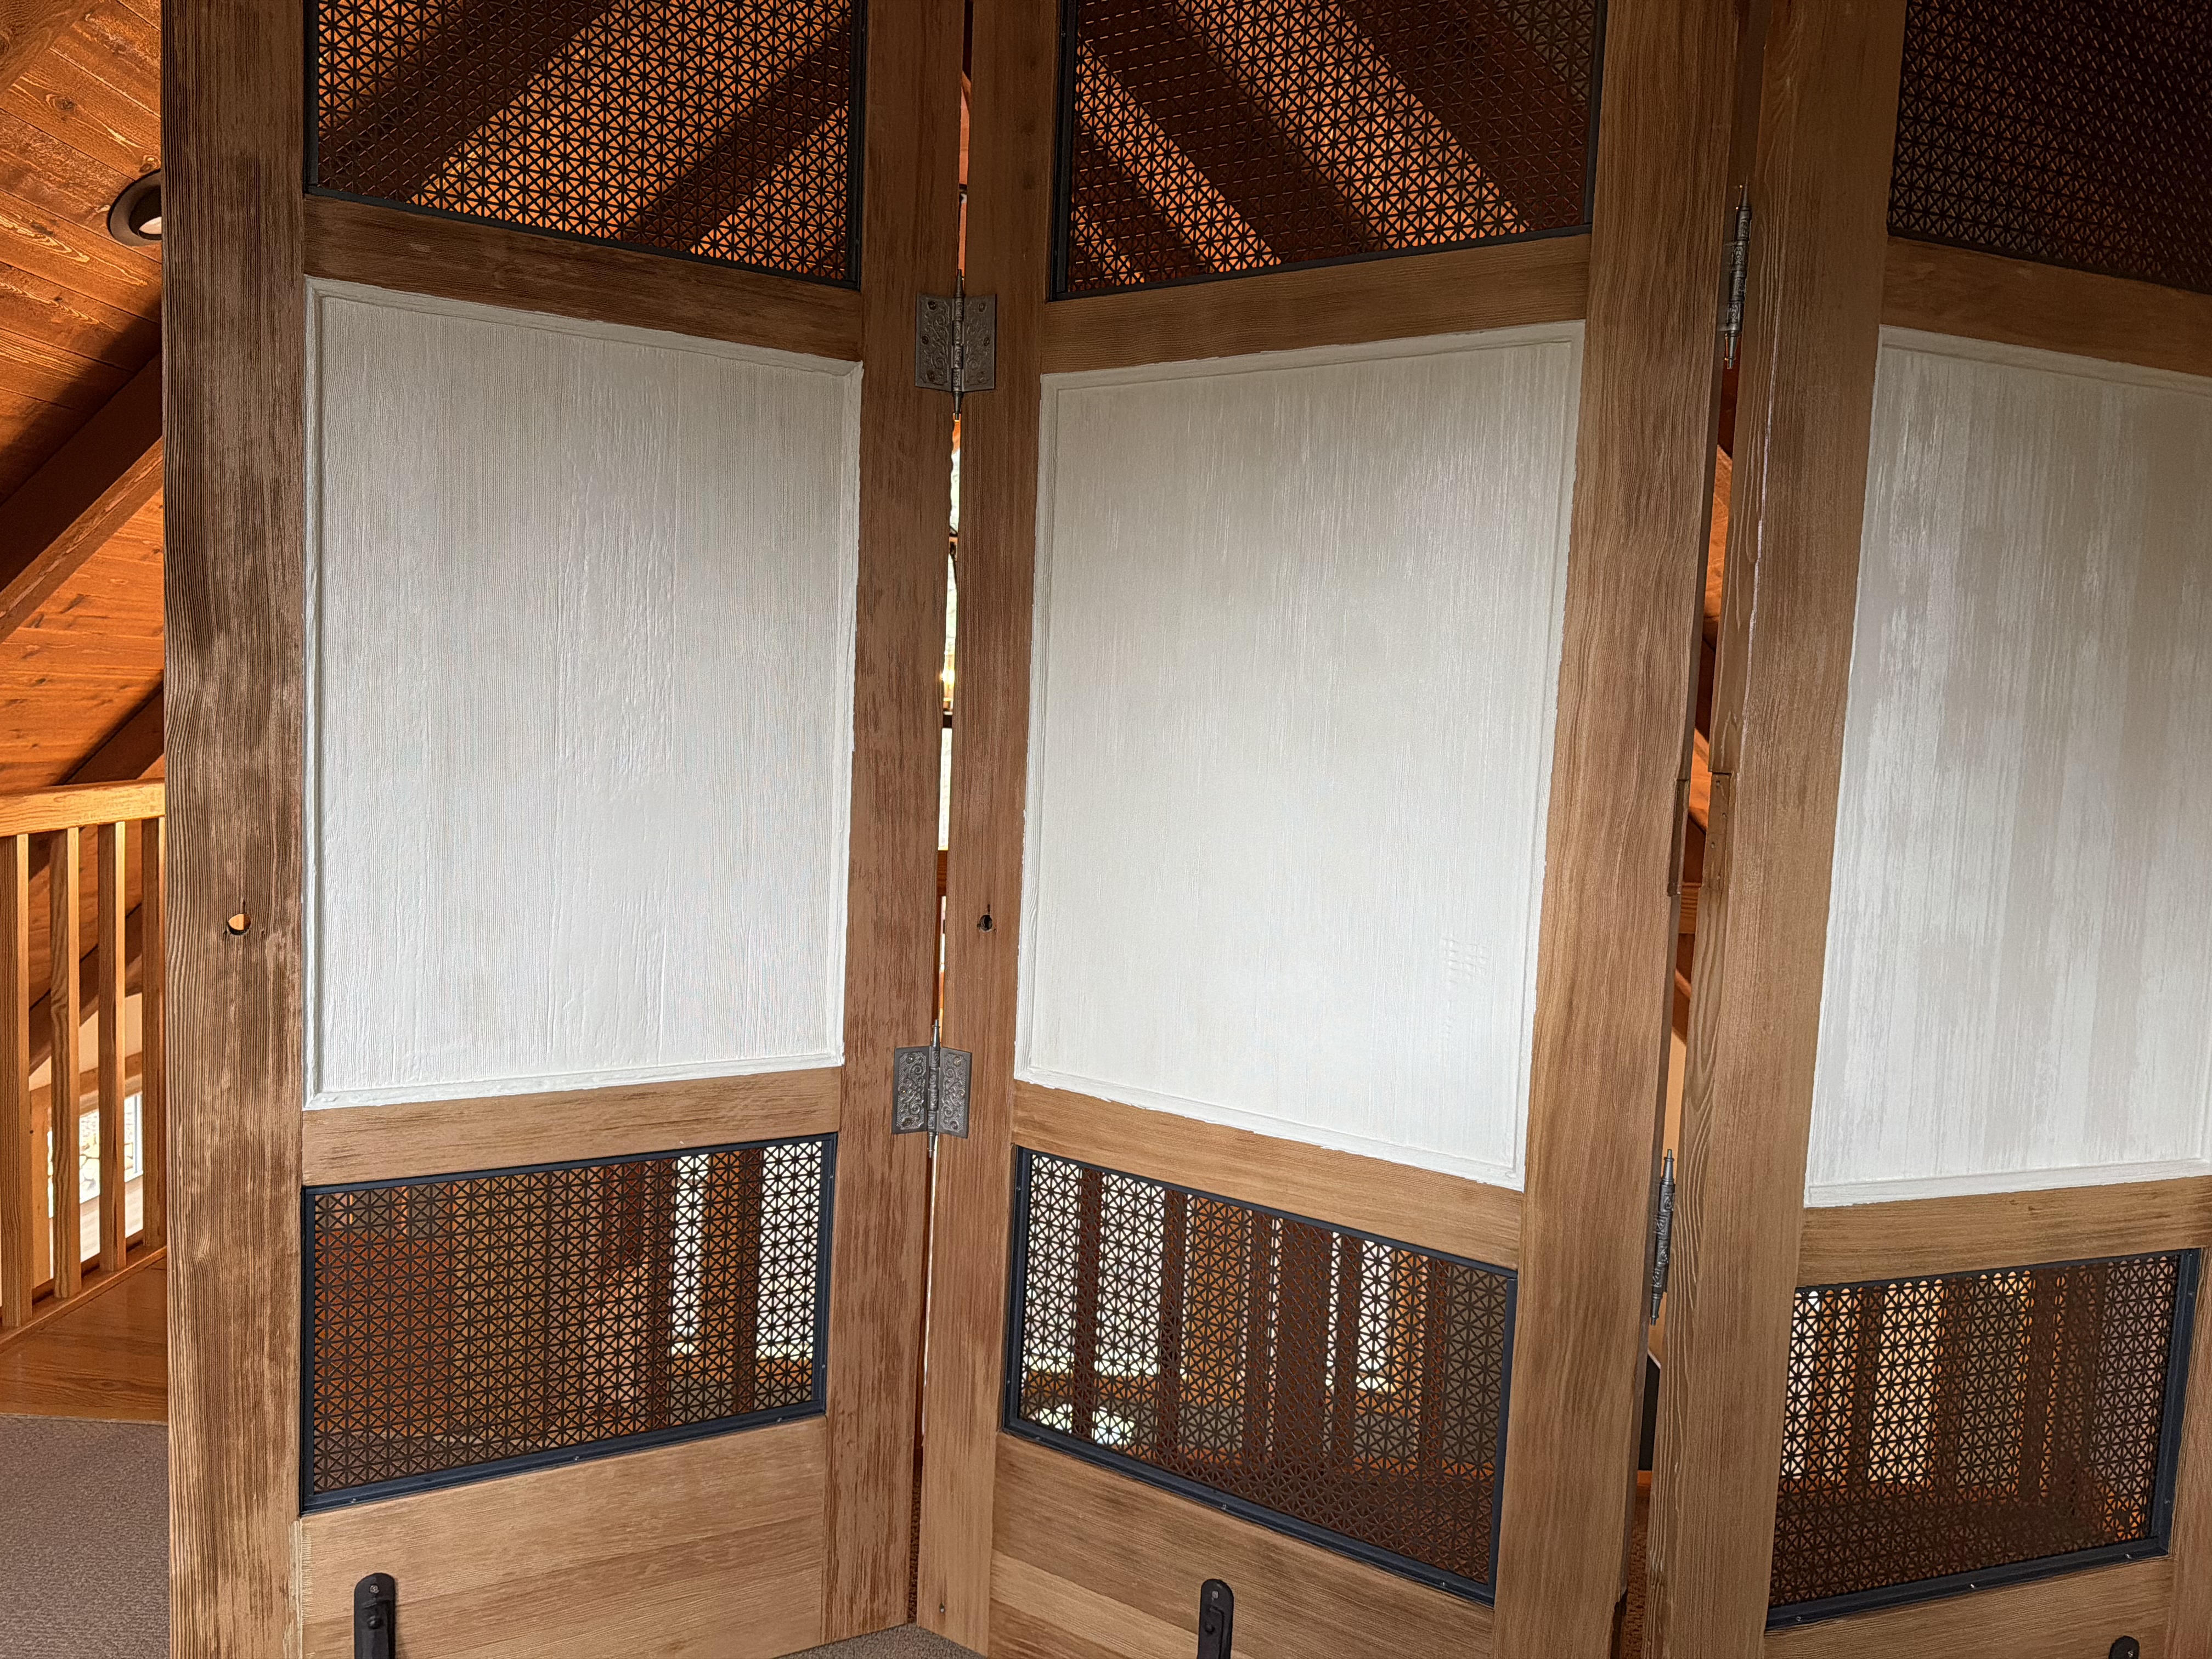
Before I dive in, here is the finished divider!
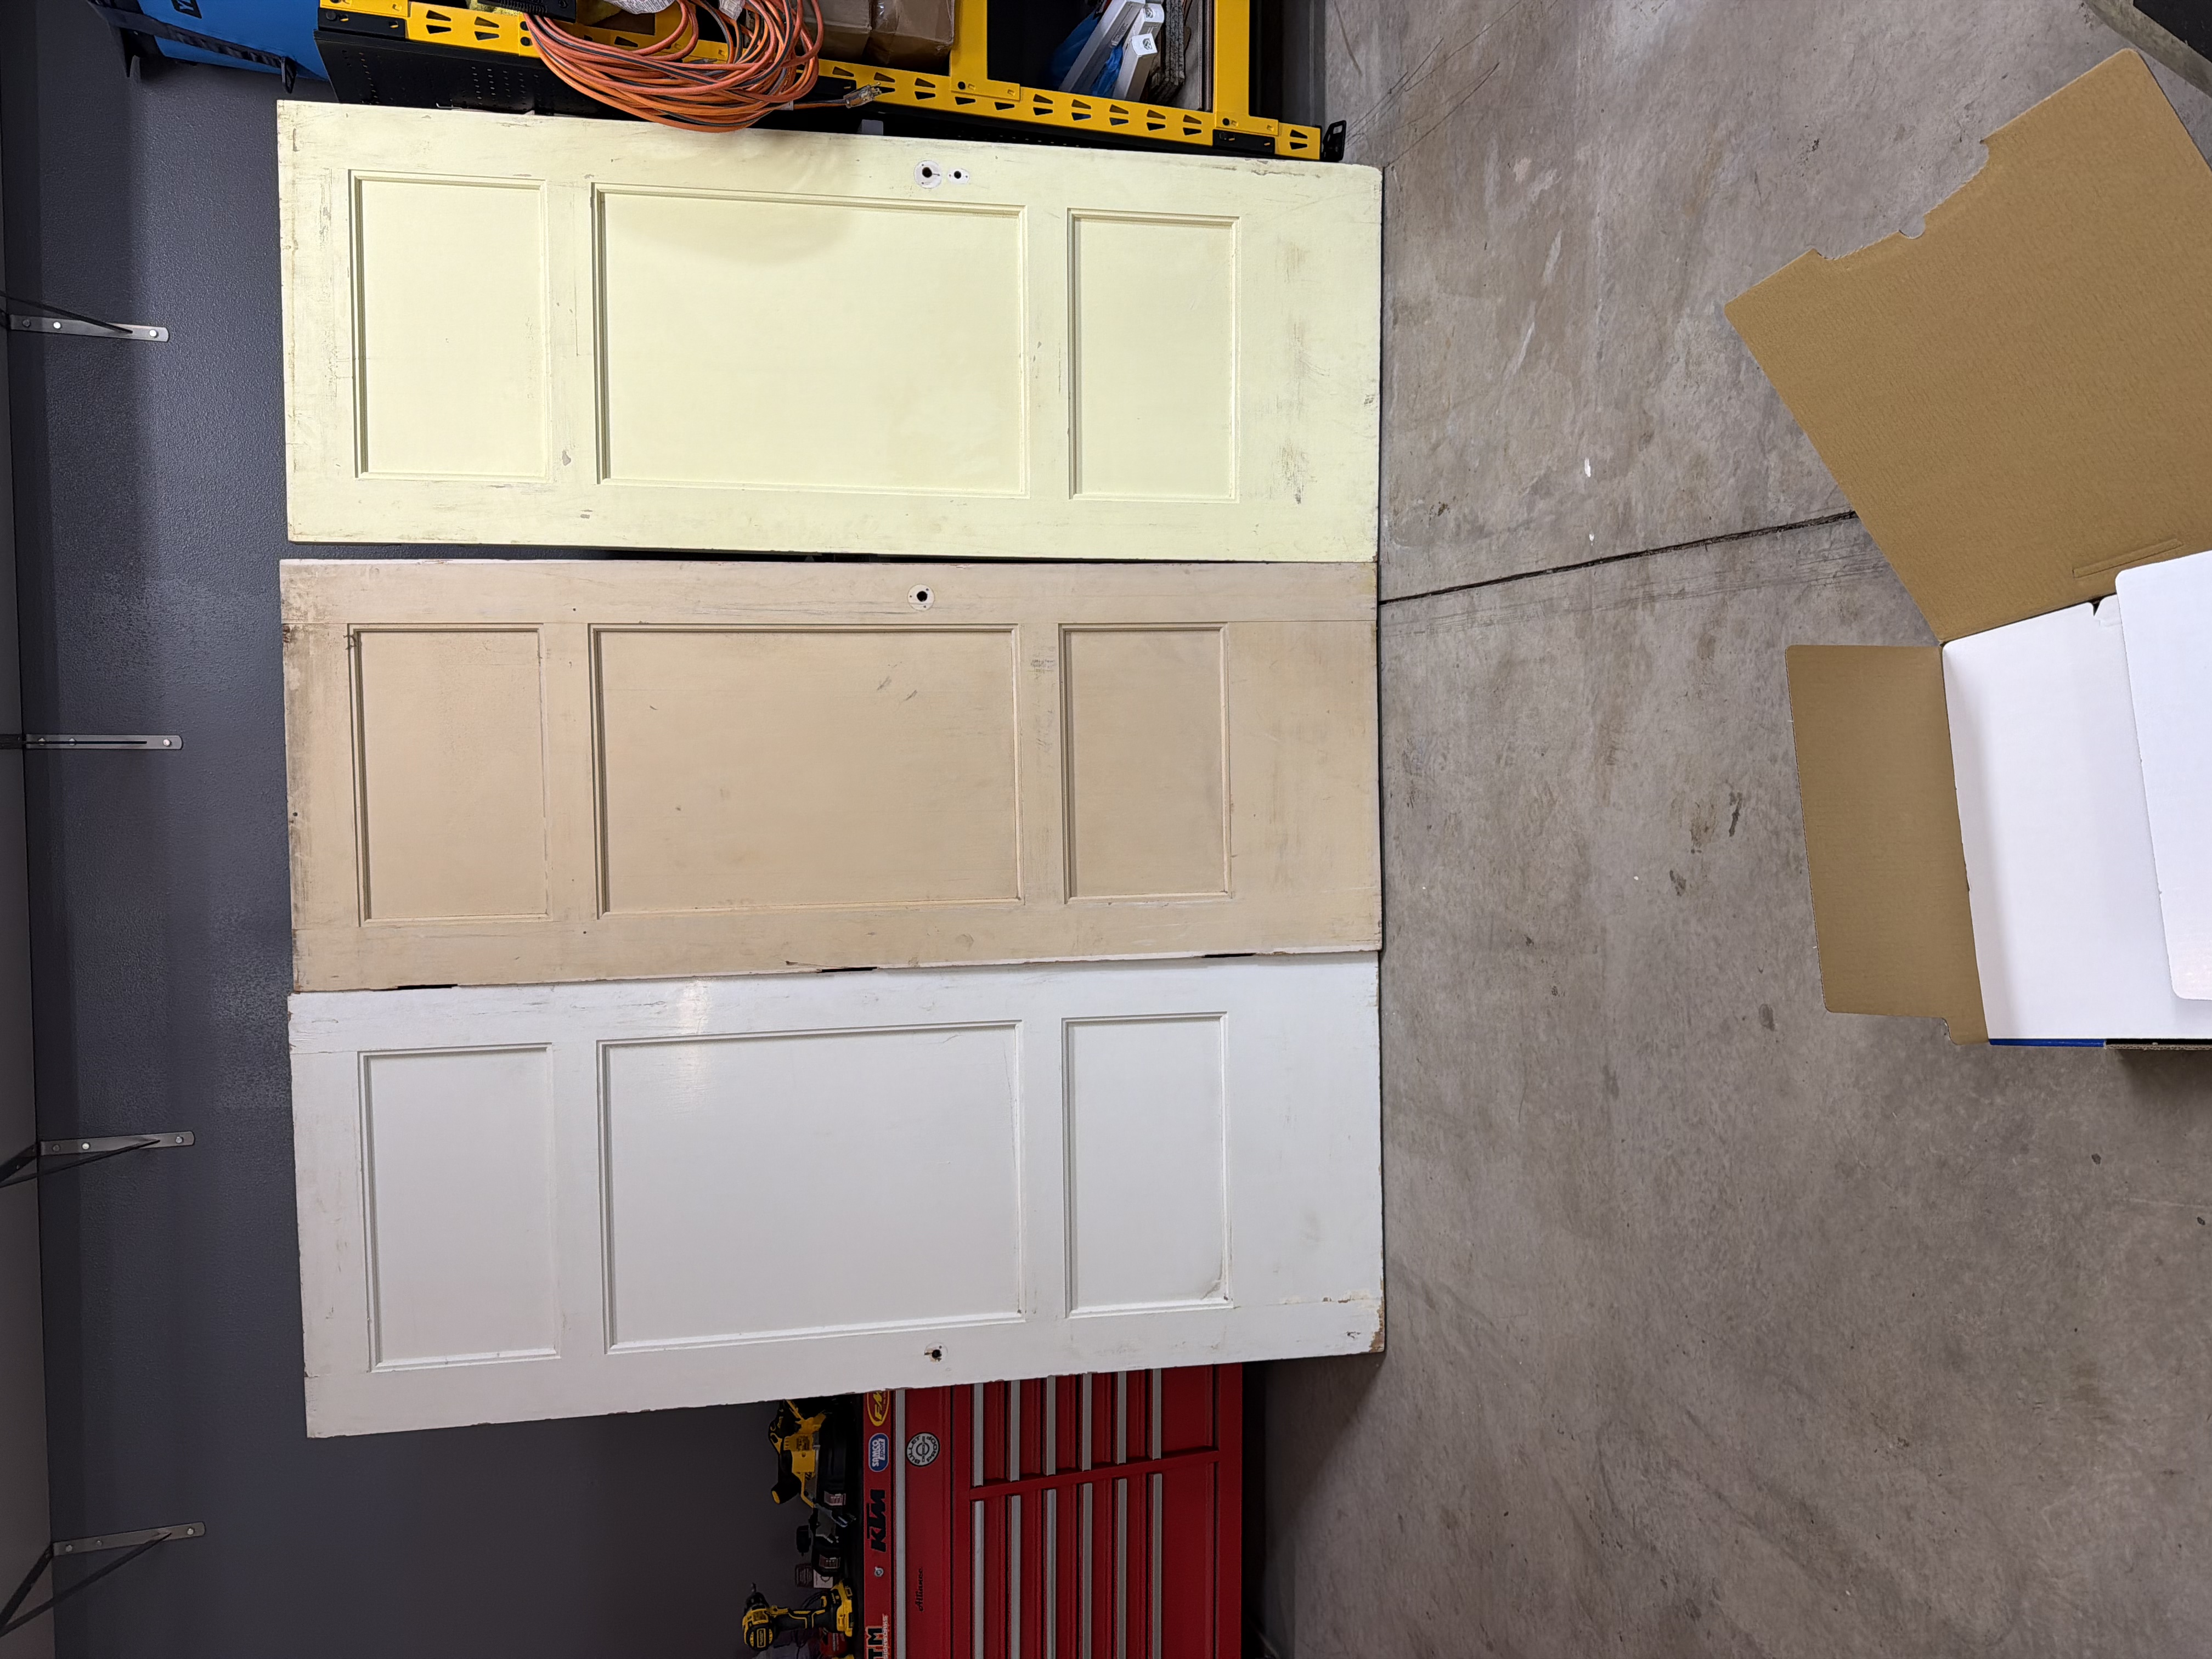
First, I needed to decide what to use for the panels, and I settled on something used or vintage, so I was off to the RE Store in Bend. While there were some interesting options, I wanted three matching doors, which the RE Store did not have. Enter Facebook Marketplace, where I found three matching doors from an old farmhouse in Lake Oswego, for sale by someone in Prineville. After messaging with the seller, I determined the farmhouse doors would work, and I made the drive to Prineville! The farmhouse doors I purchased are three-panel, shaker-style, made from VG fir.
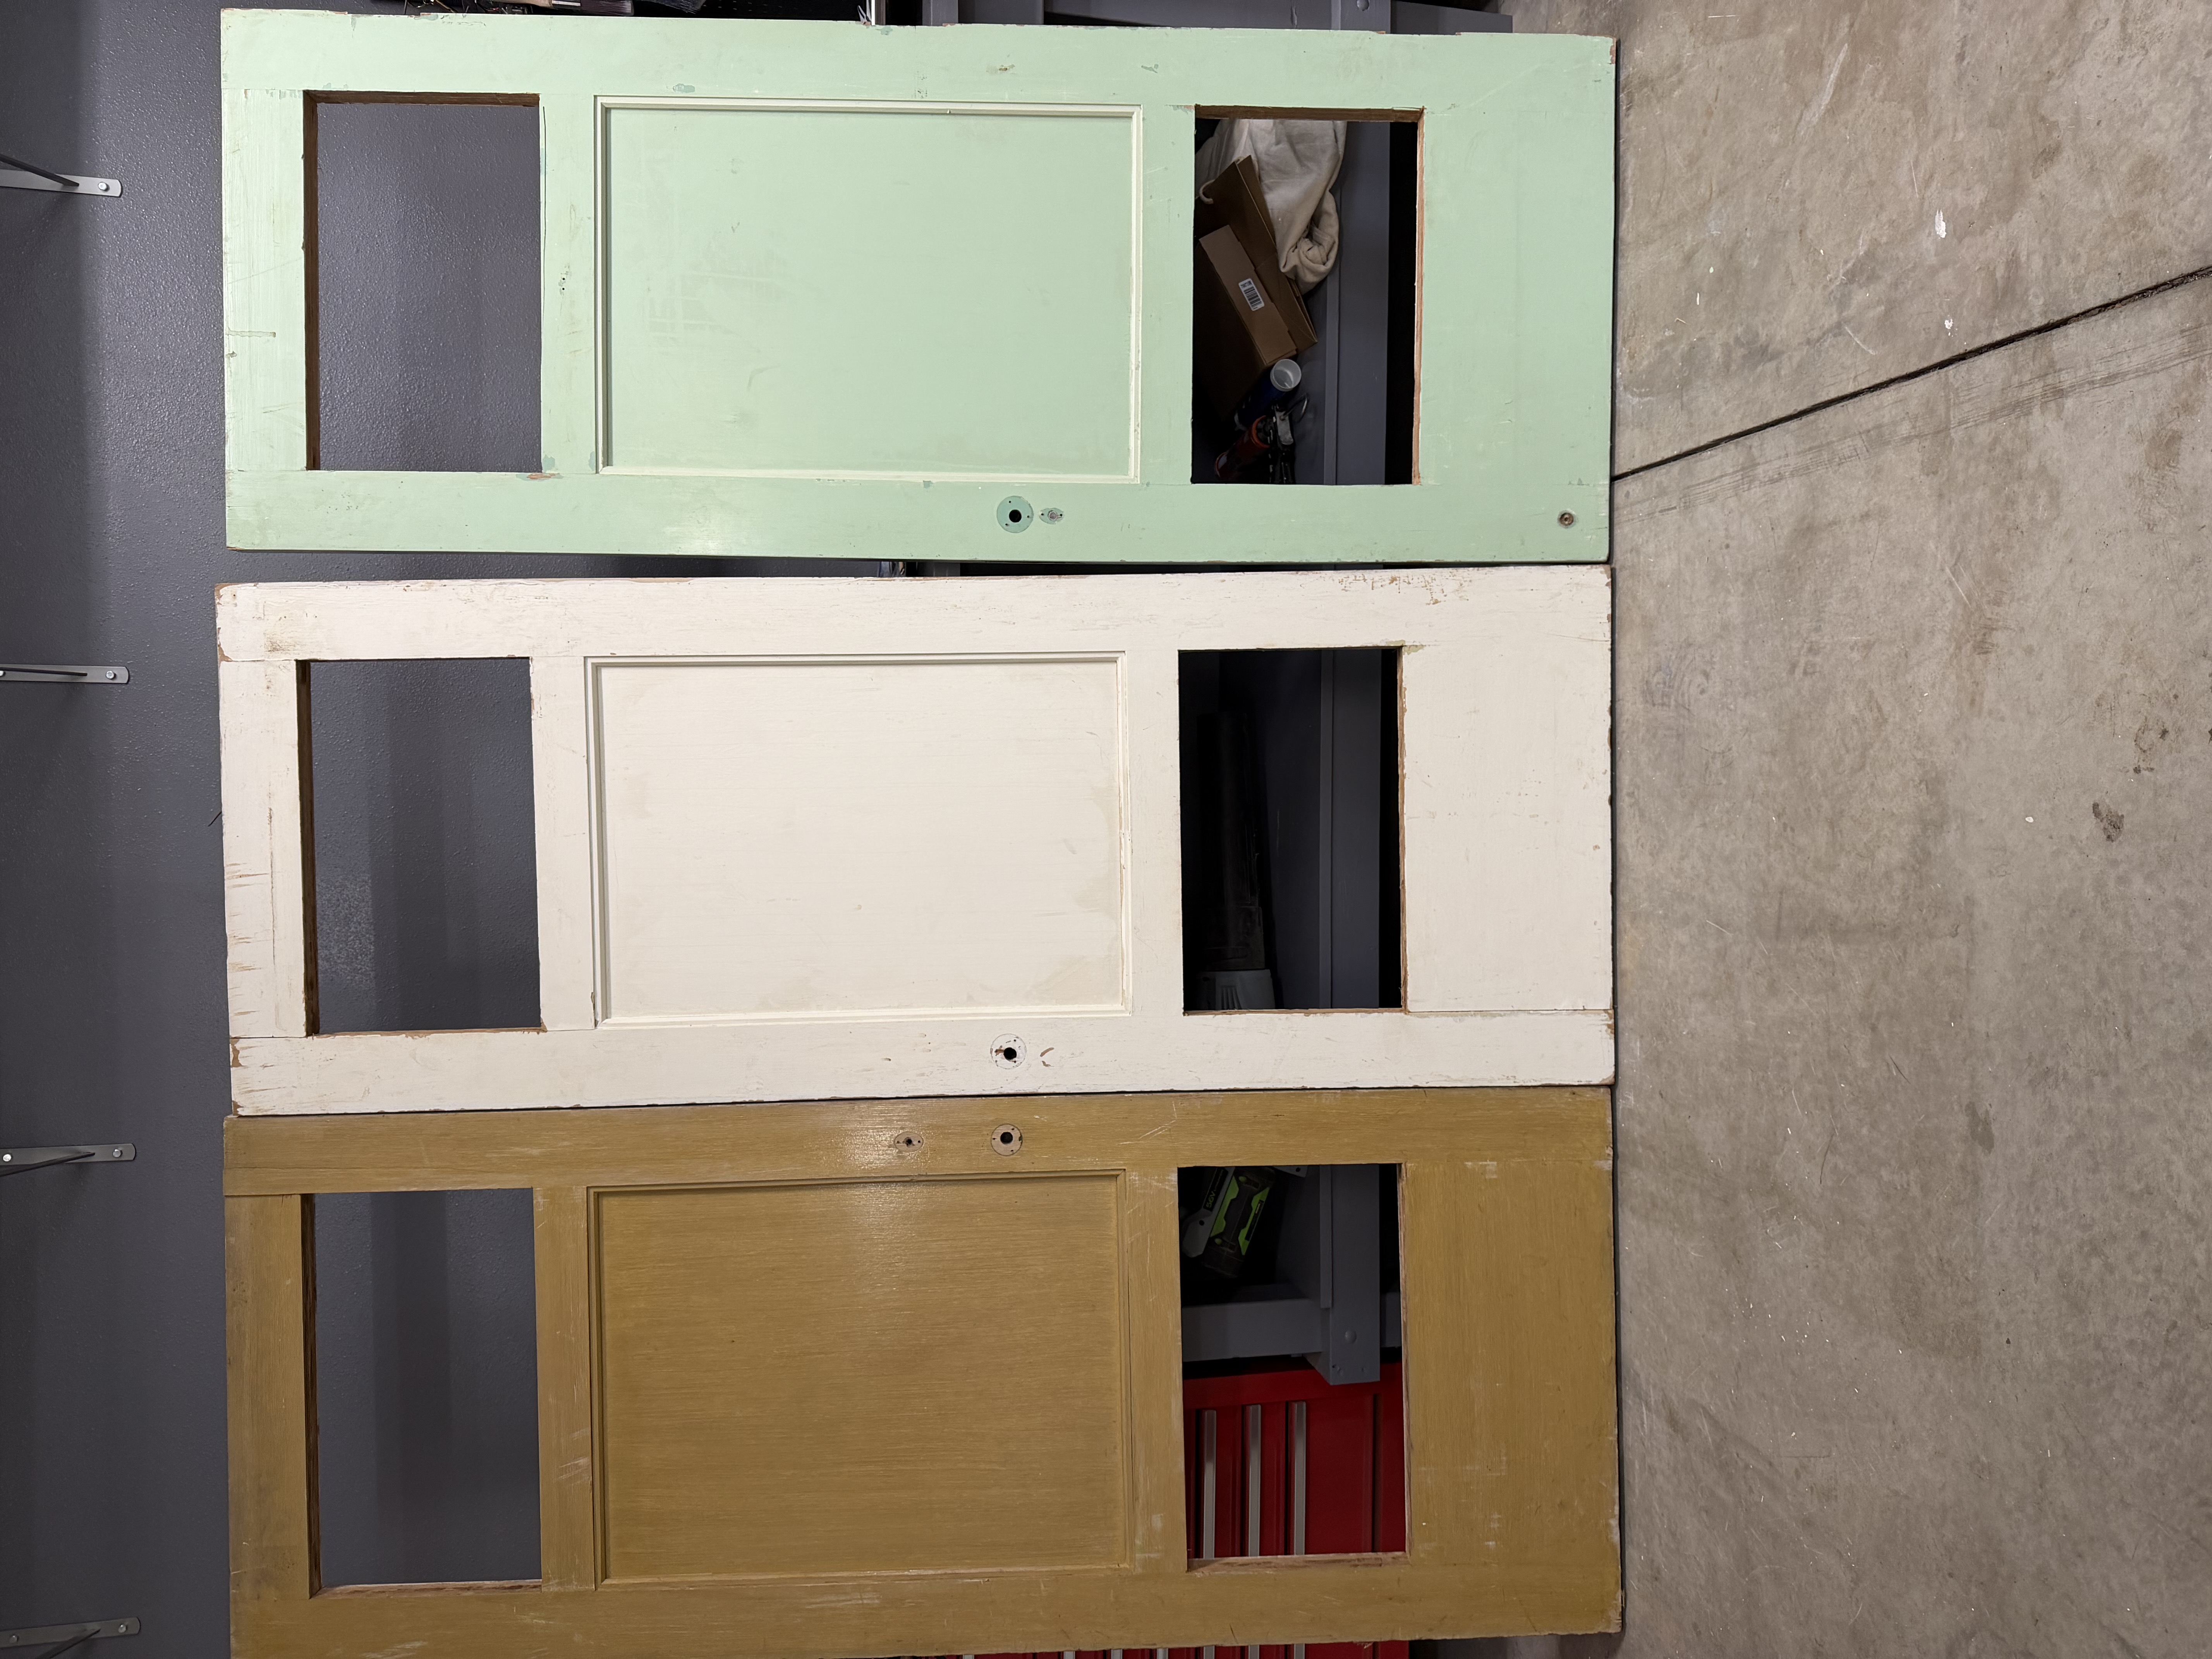
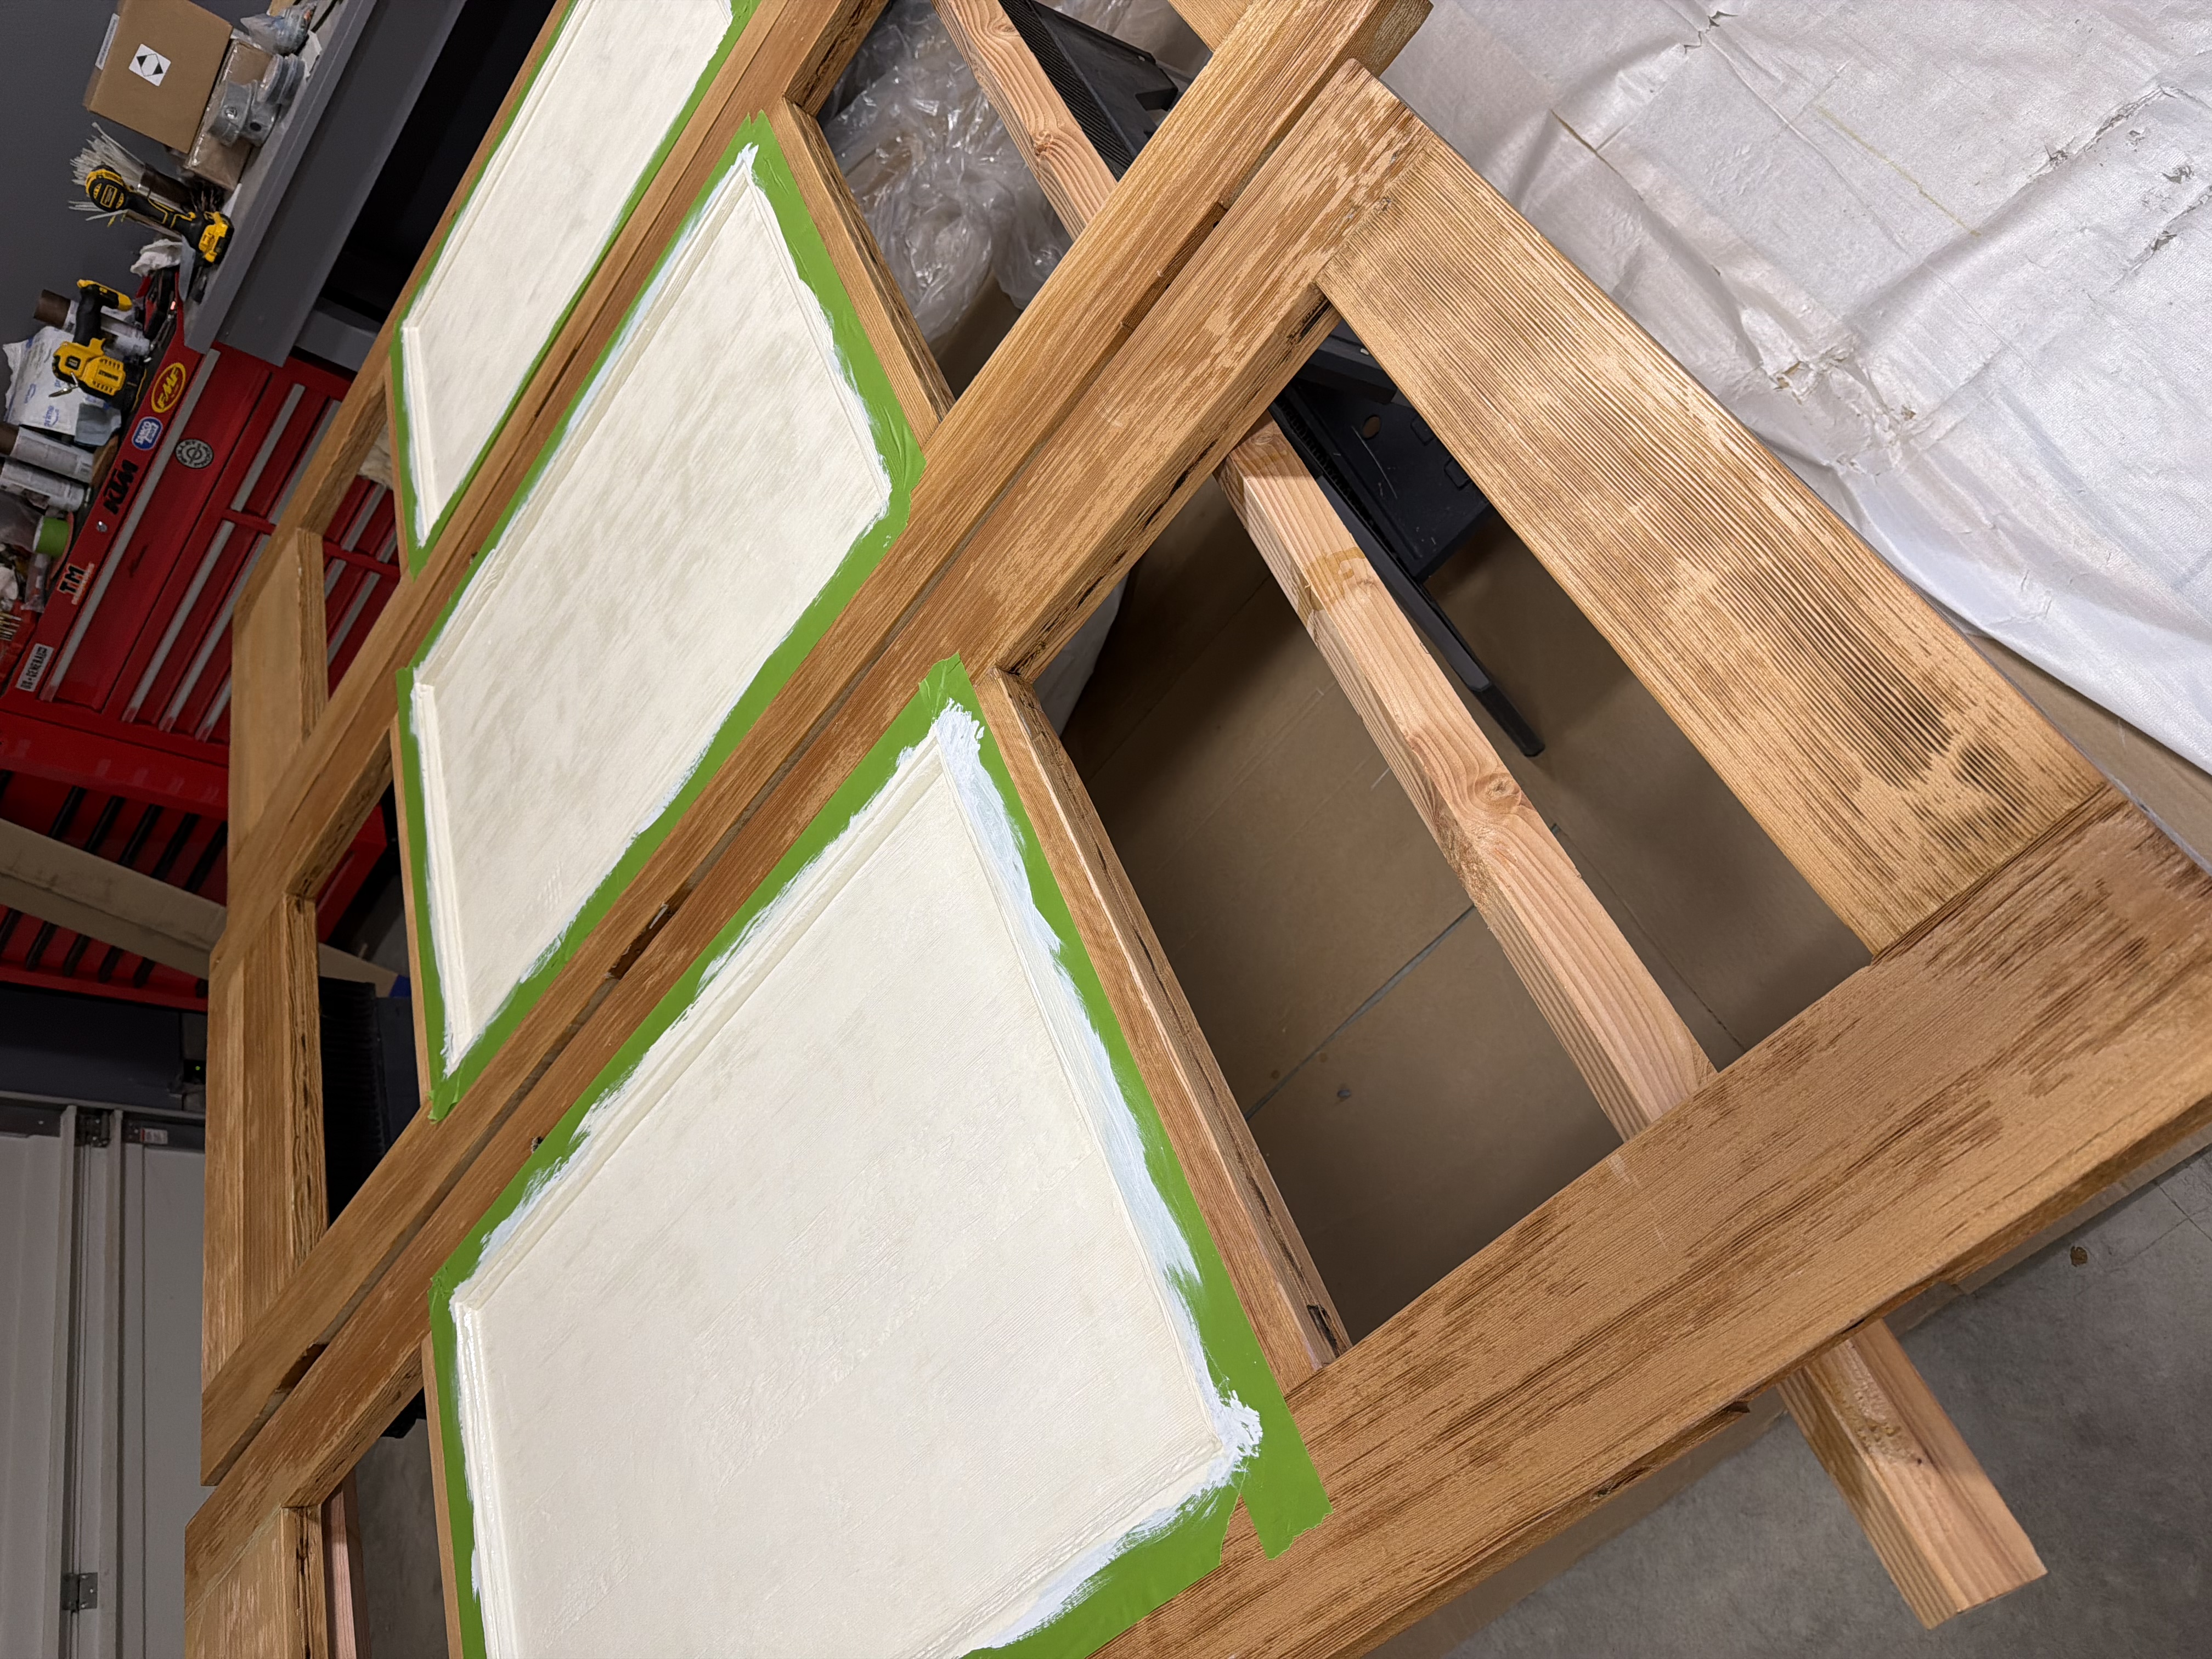
I decided to remove the top and bottom panels from each door, a job that turned out to be much more difficult than I anticipated. First, I needed to remove the trim encasing each panel on both sides. I hoped the panels would be held in place by the trim, but instead they set into the frame and needed to be cut out. Next, I opted for my vibrating cutting tool, with some assistance from a jigsaw. I finished everything up with a sander to make the openings uniform and square.
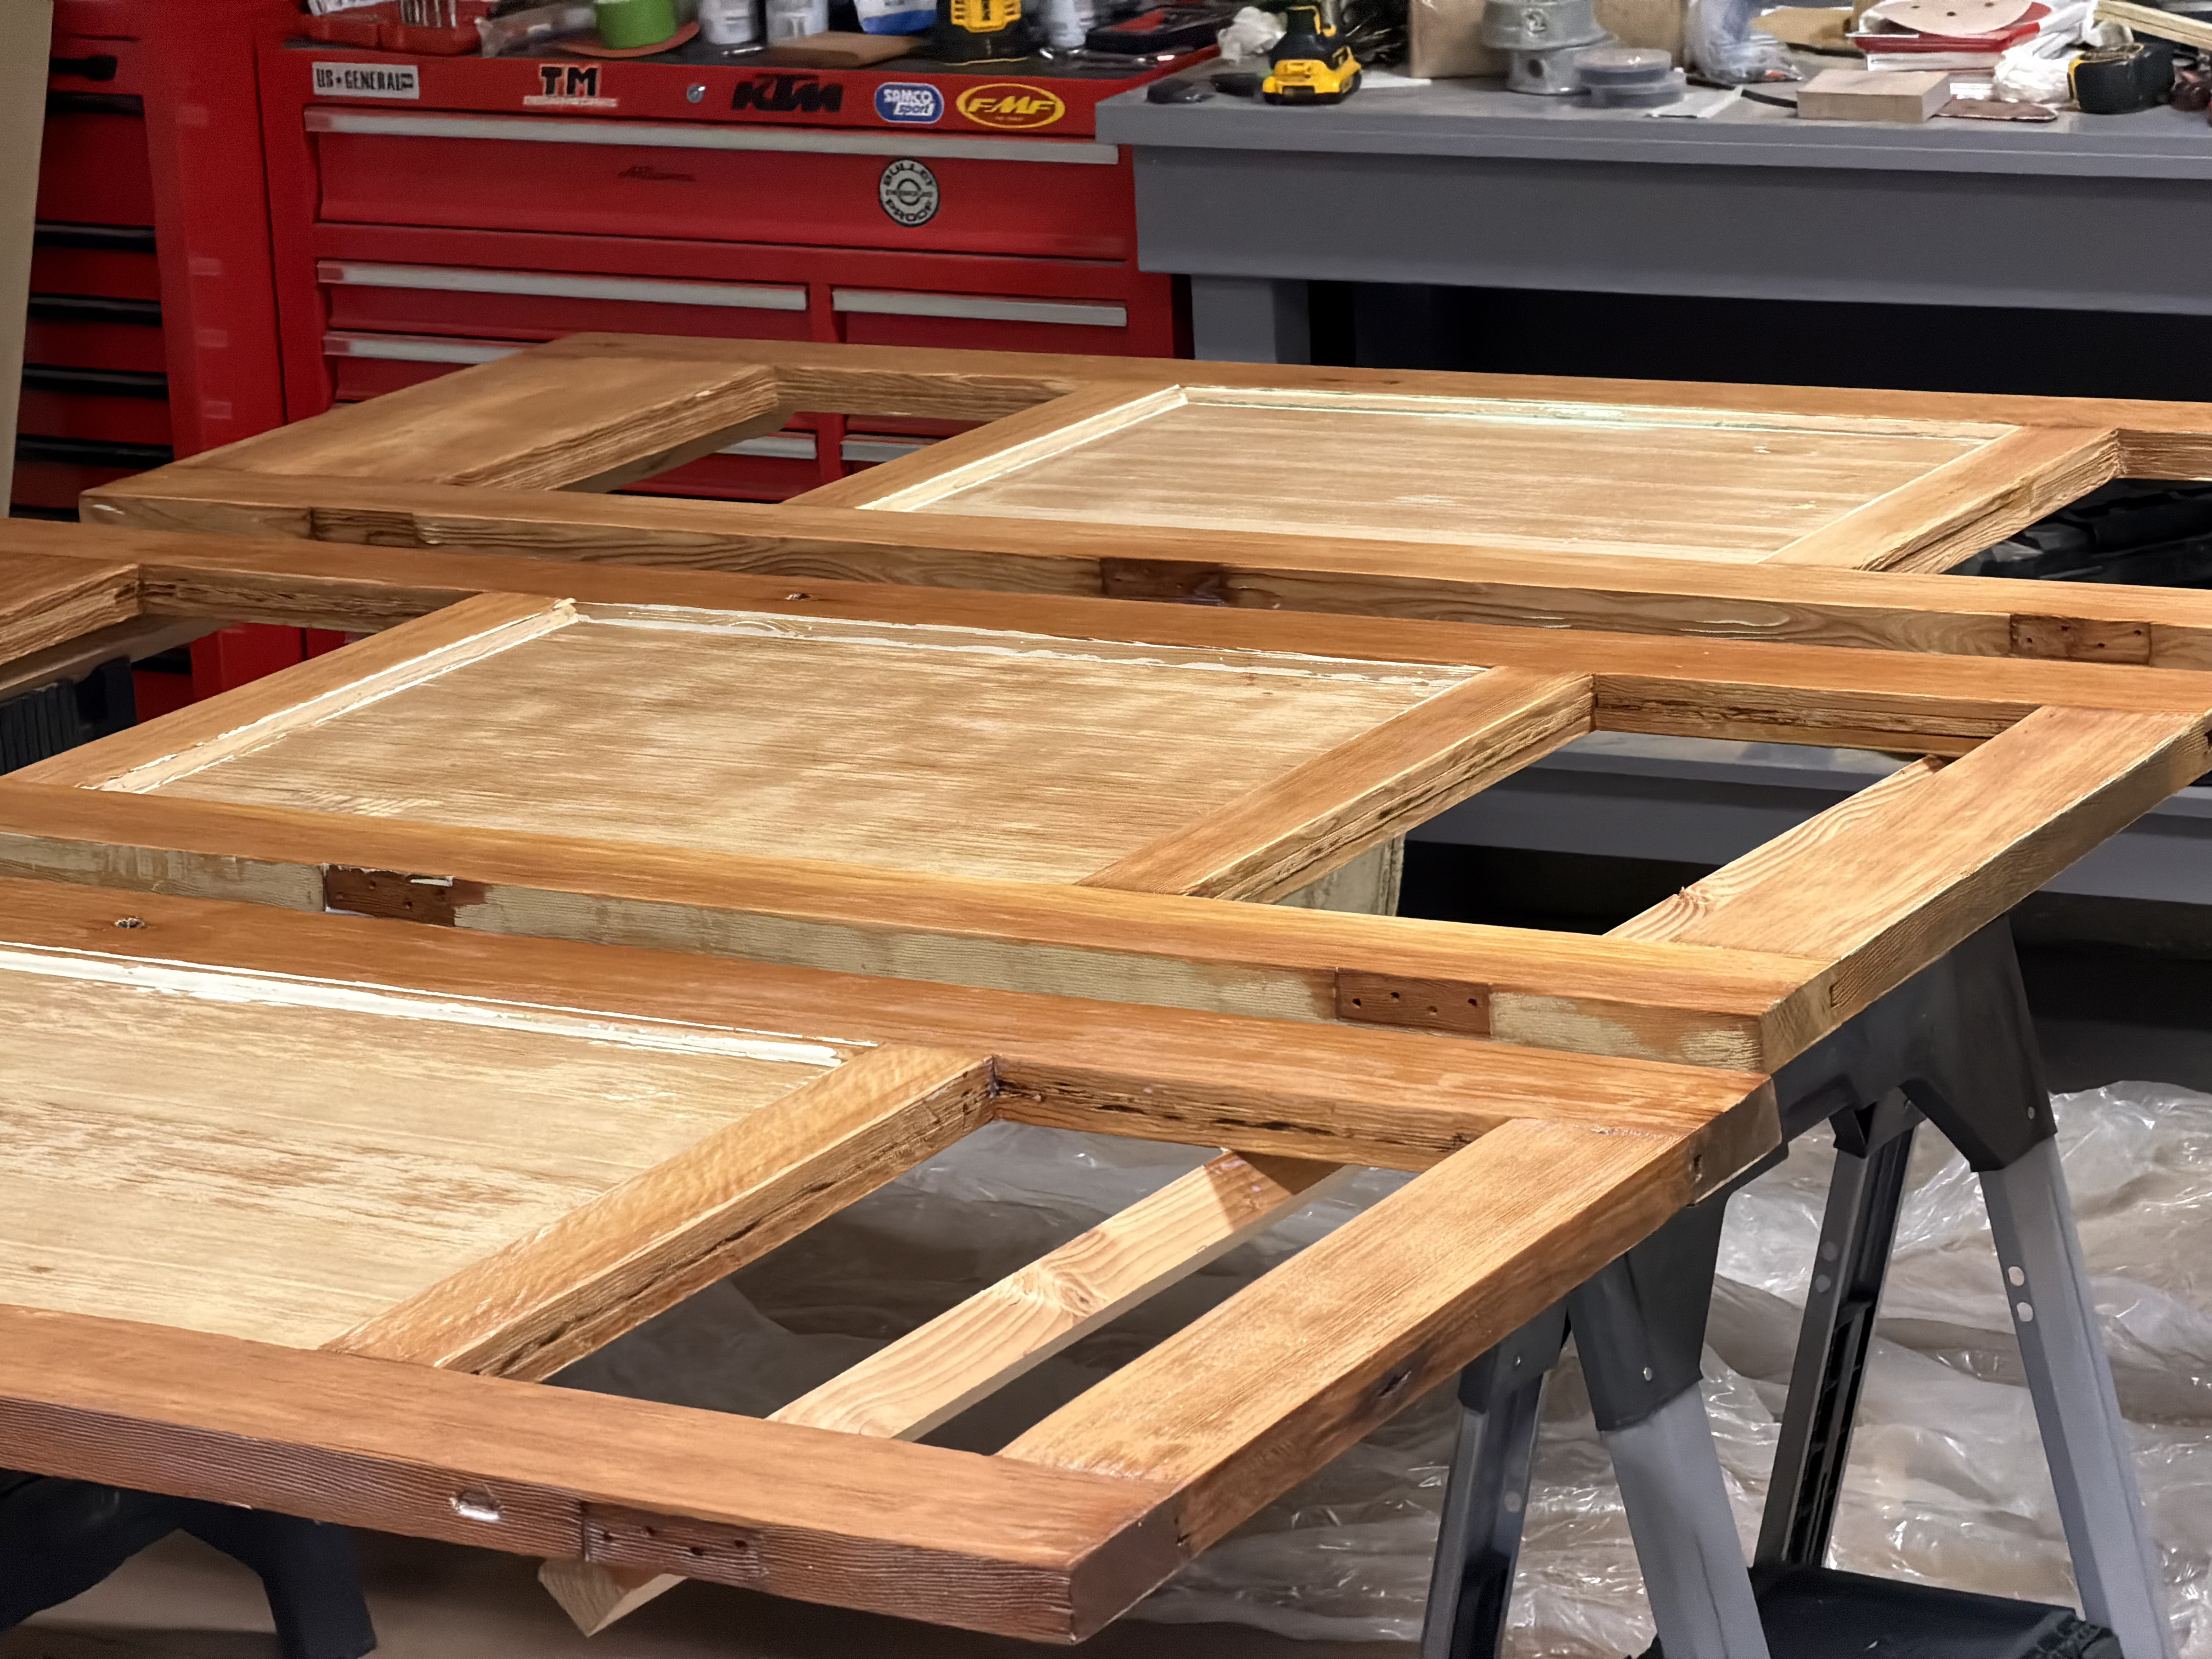
The doors are from an era of lead-based paint, and before going any further, I needed to strip the old paint. Using chemicals turned out to be an expensive hassle. Instead, I had a local media blasting company use walnut shells to blast the old lead-based paint off. The media blasting left a surface that was in much better condition for refinishing. The finished doors with the grain raised had a ton of character and enhanced the vintage vibe I wanted.
Doors are the foundation of this project, and finding them was half the fun in designing the dividers. There are so many ways this could have gone, and if you take on a project like this, the doors or whatever you settle on will dictate how the rest of the project unfolds.
For paint, I leaned on my local Sherwin-Williams, which has been an excellent resource for all my painting projects. The sales rep helped me choose a vintage white for the center panels and a matte clear coat for the rest of the doors. Before I went to work with the paint and clear coat, I spent time filling imperfections in the doors, gluing and finish-nailing anything loose, and sanding everything with a random-orbit sander. The finished product would have patina and a rustic feel, but preparing the surface as much as possible before sealing everything would ensure a better result. Painting is all in the preparation!
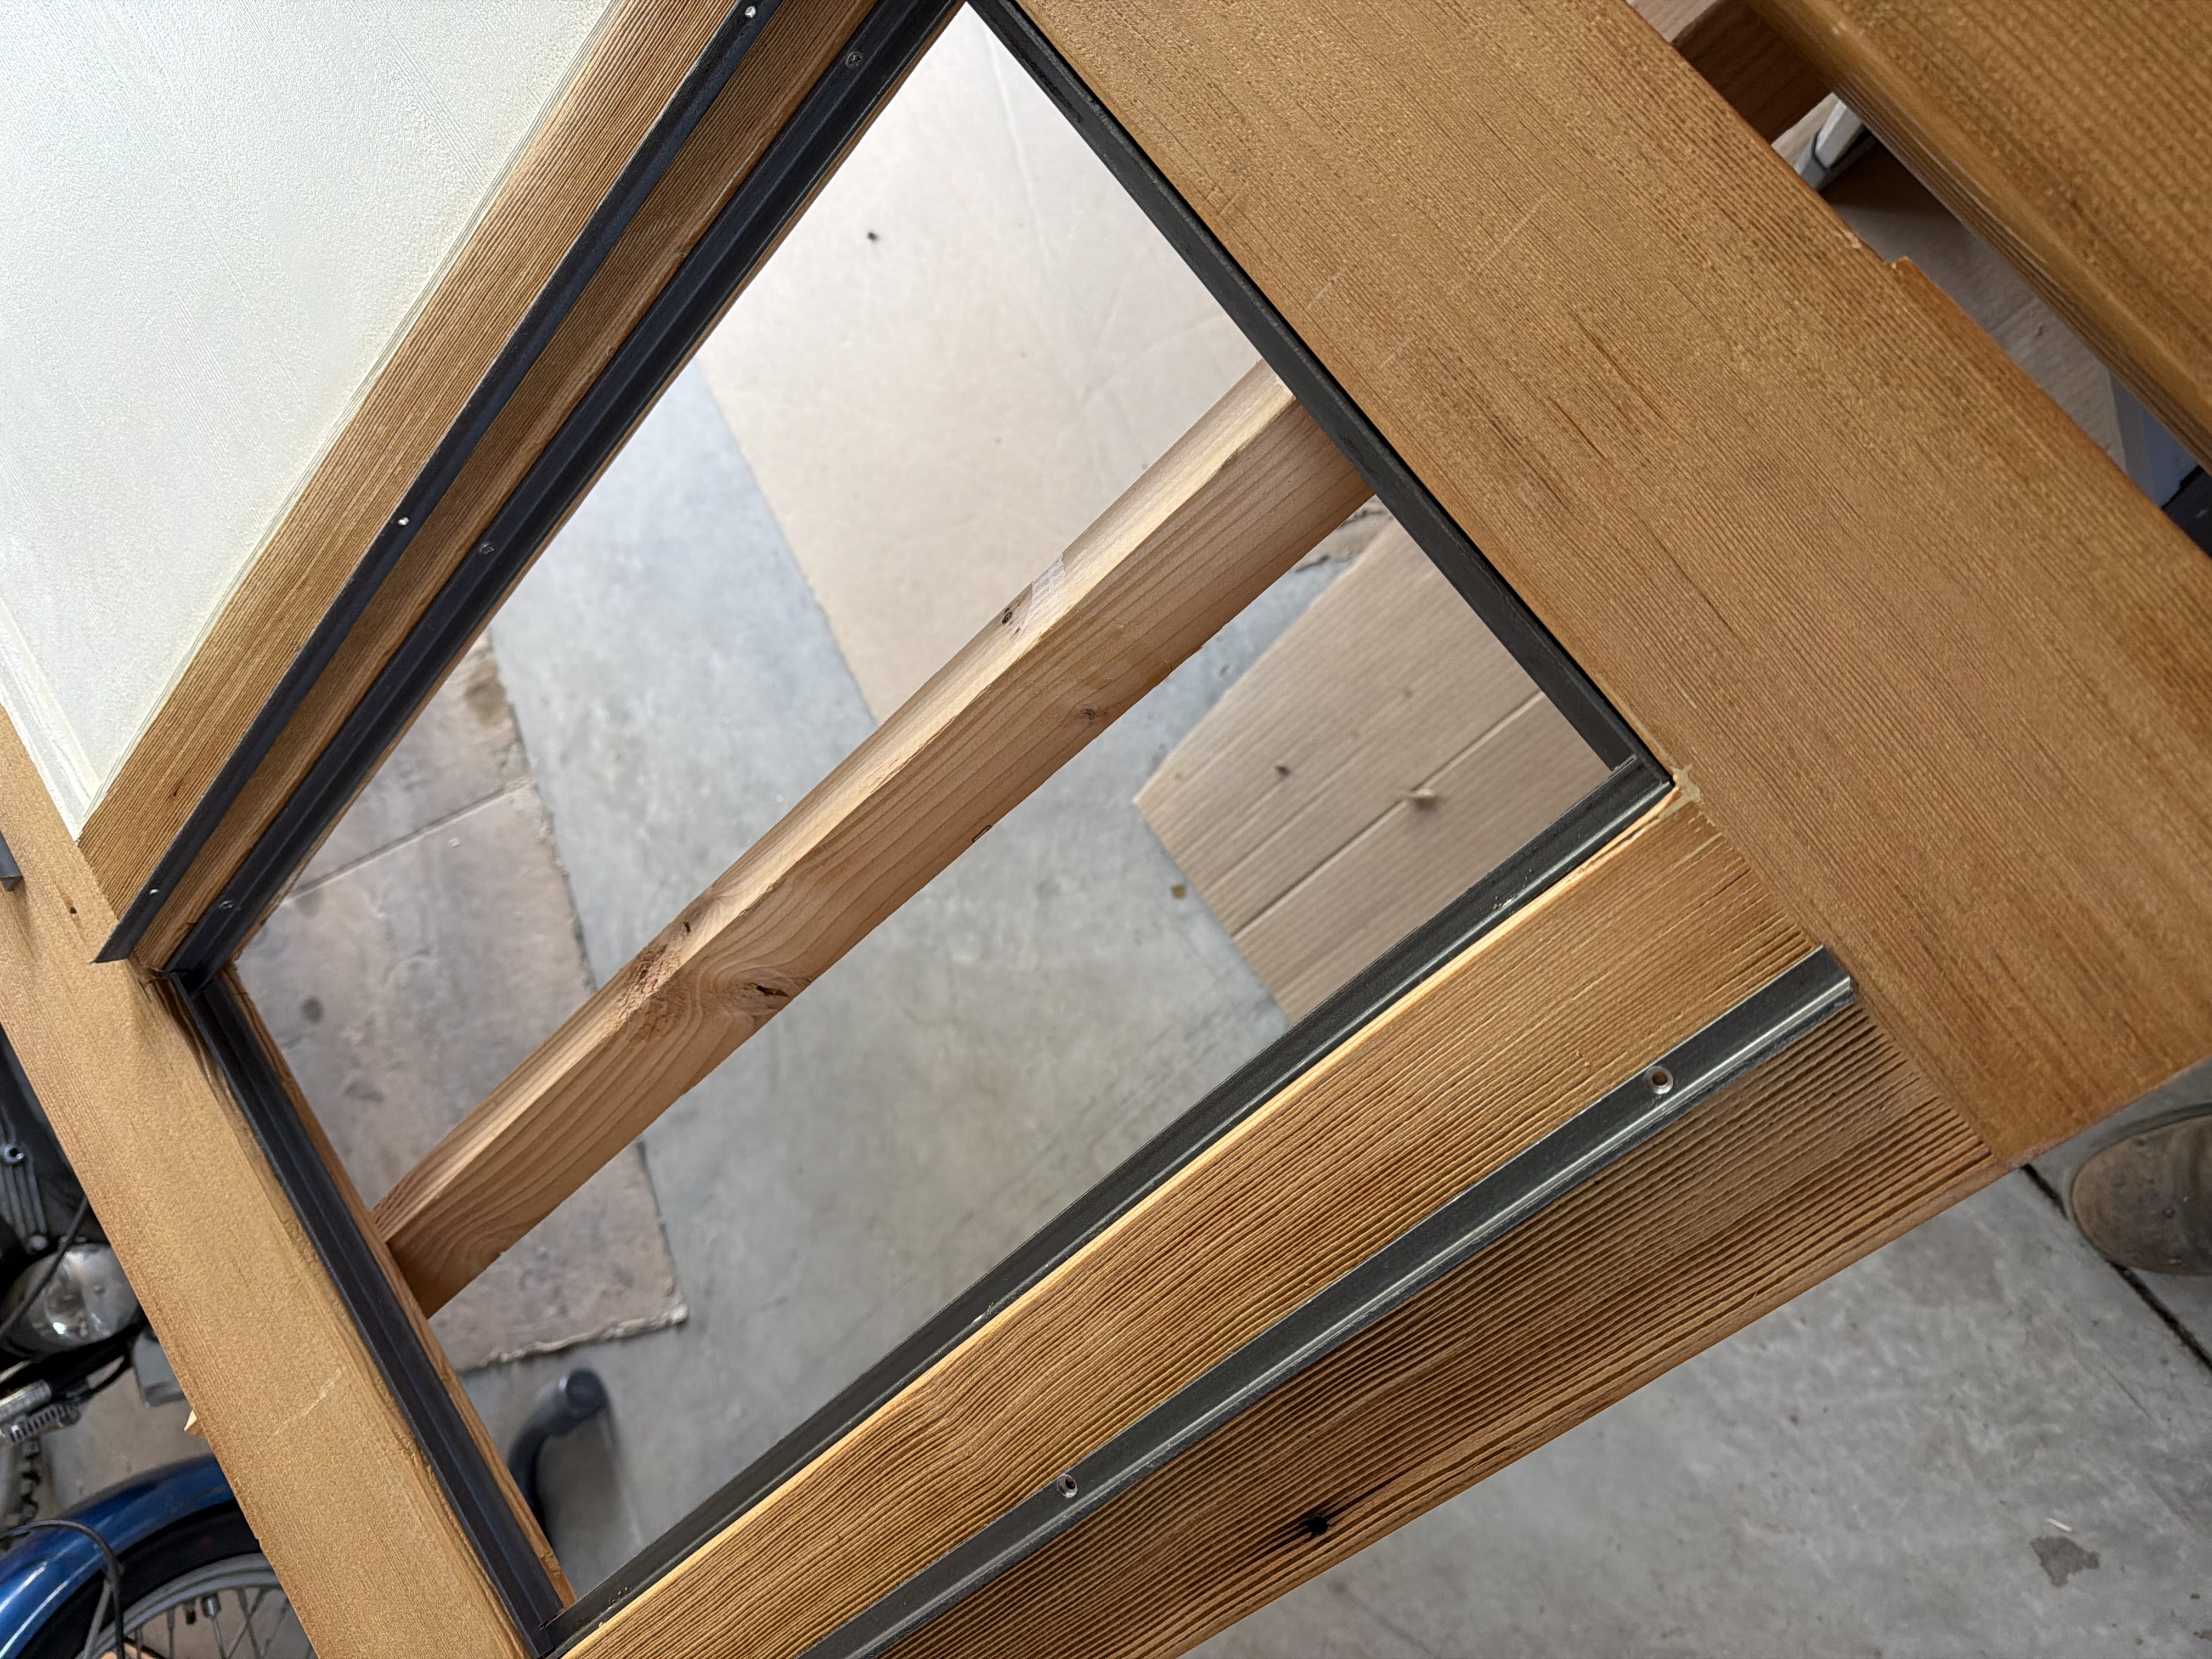
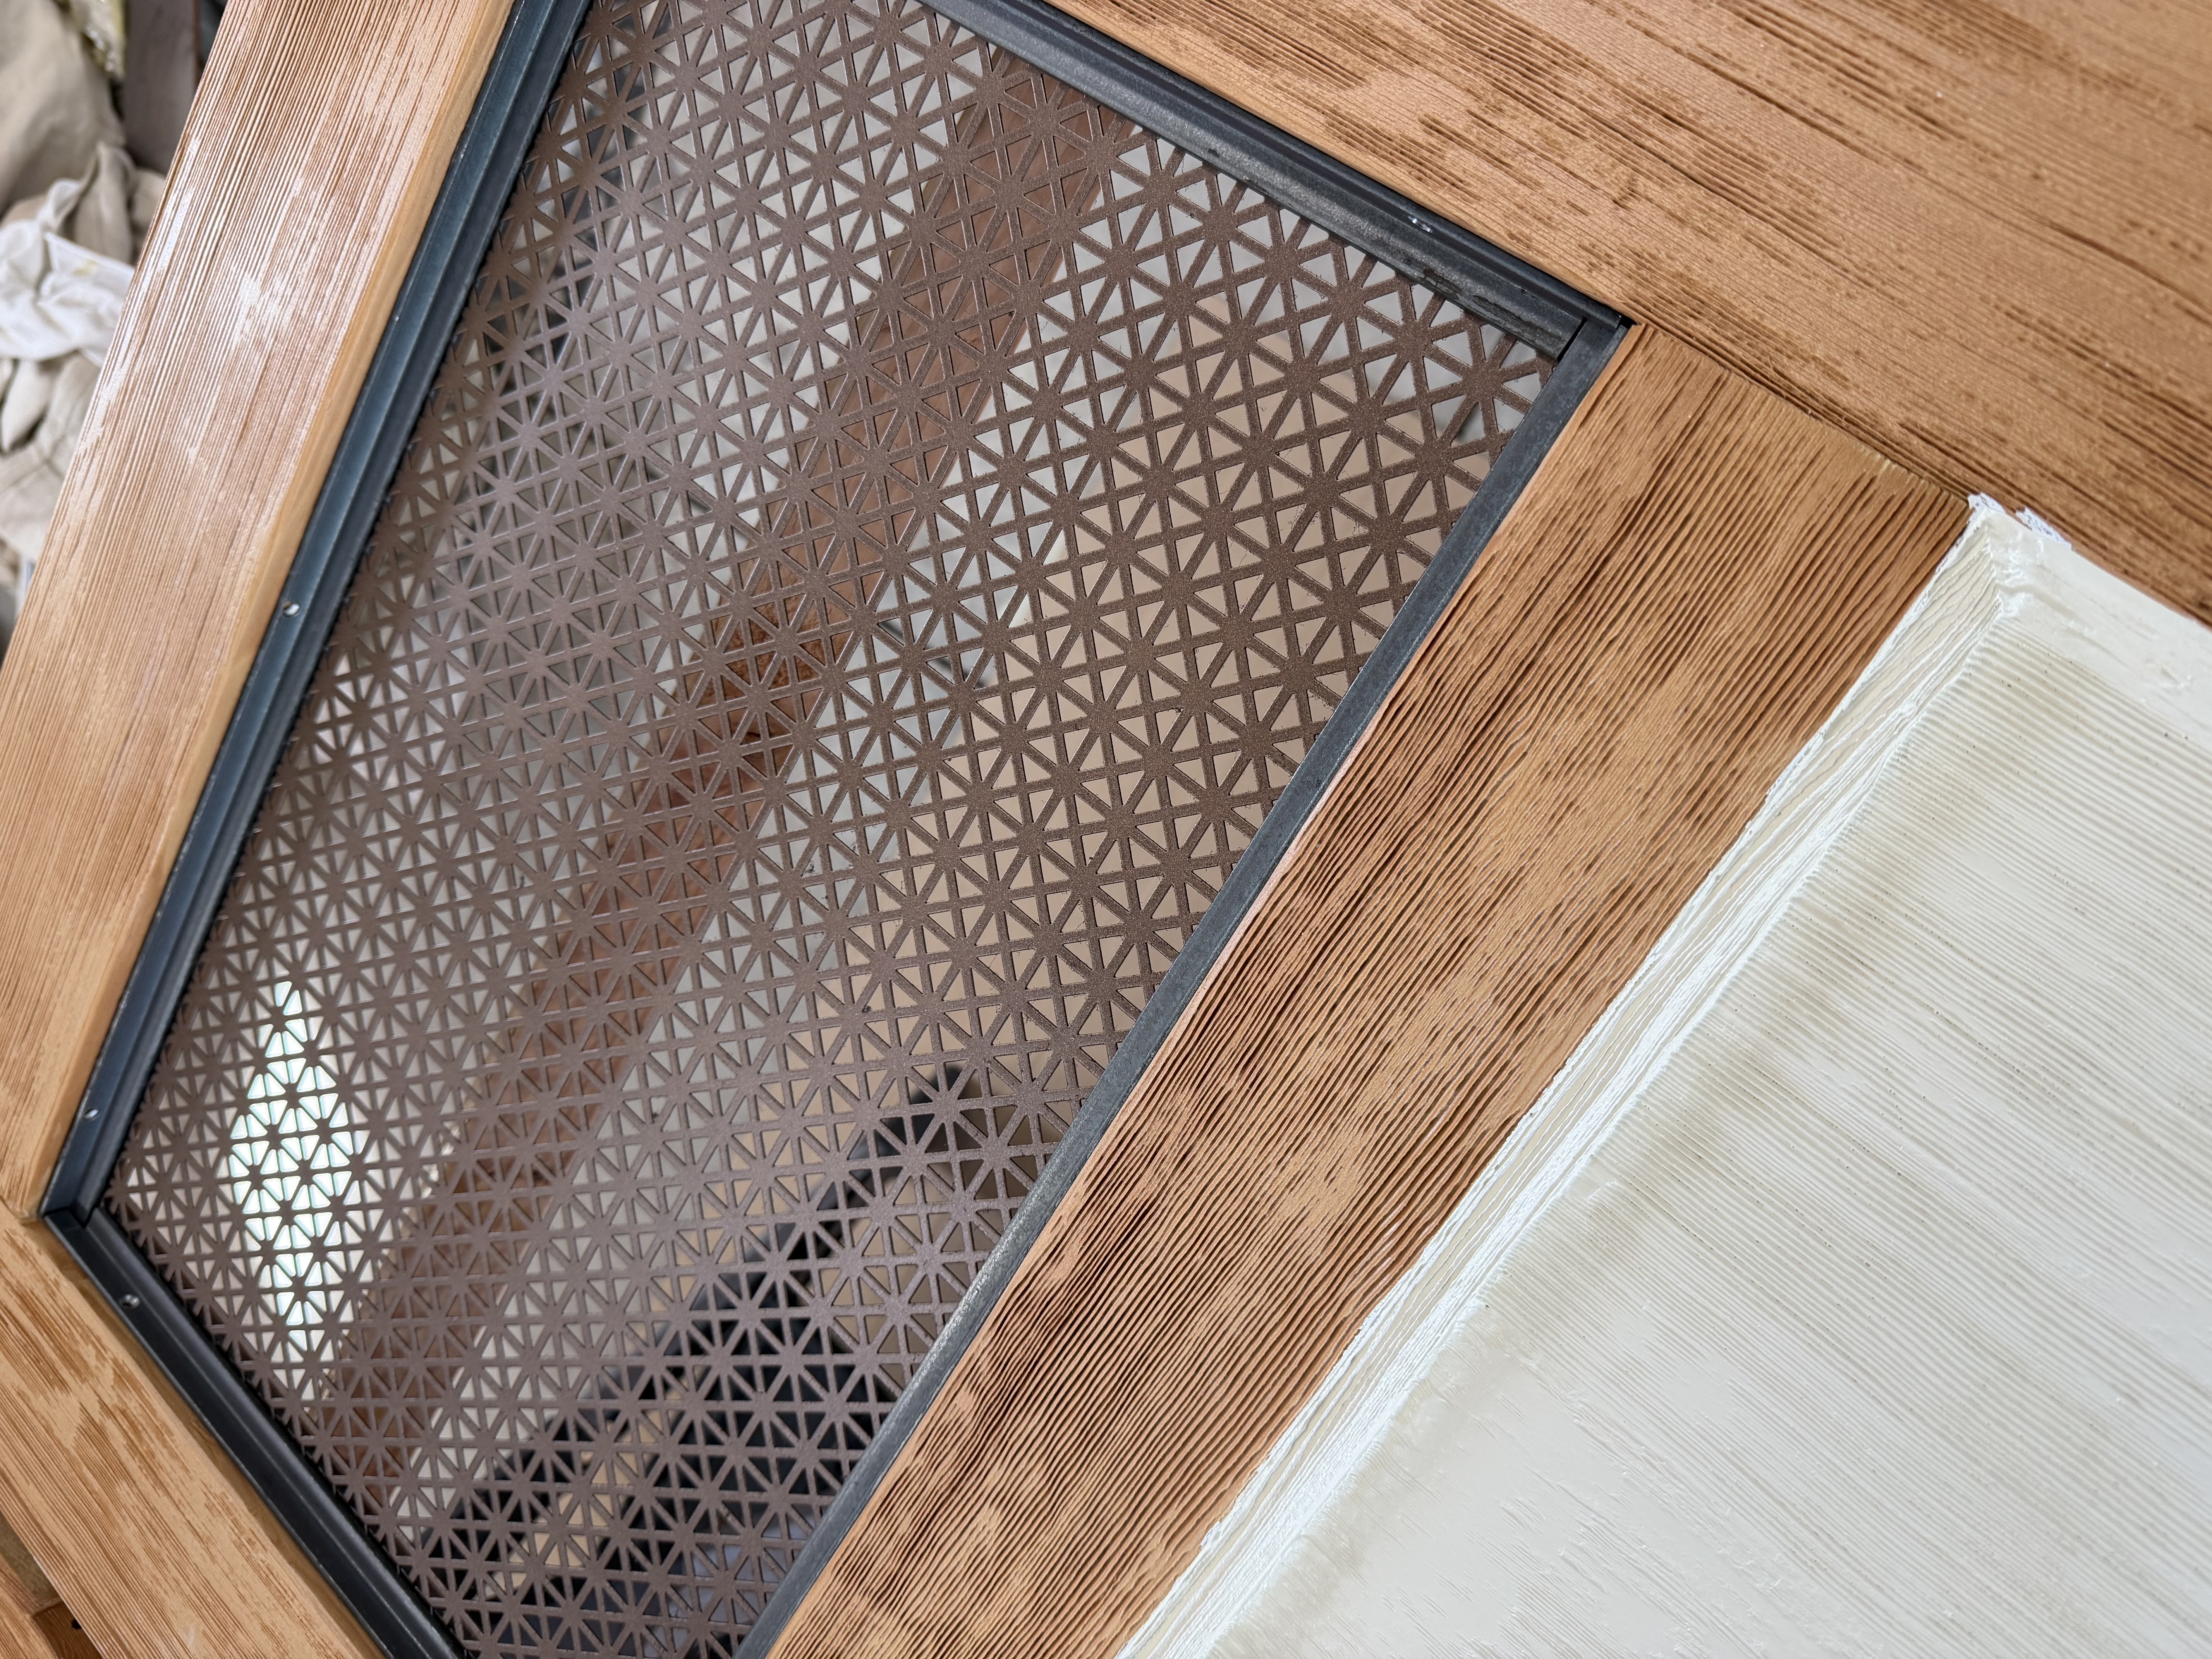
Next, it was time to install perforated metal into the empty panels. I chose a decorative design by McNichols Hole Products, which they cut to my dimensions, saving me a lot of time and hassle. The panels are bare steel, and I elected to spray-paint them metallic bronze before installation. I chose 1/2" x 1/2" raw steel angle iron to picture-frame the panels, creating support for the perforated metal. The angle iron is 1/8" thick, and I bought two blades to use in my chop saw. The blades worked well but dulled quickly, forcing me to get creative for the last few cuts and use my cordless handheld bandsaw. I used a drill press for the angle iron, with countersunk stainless steel screws.
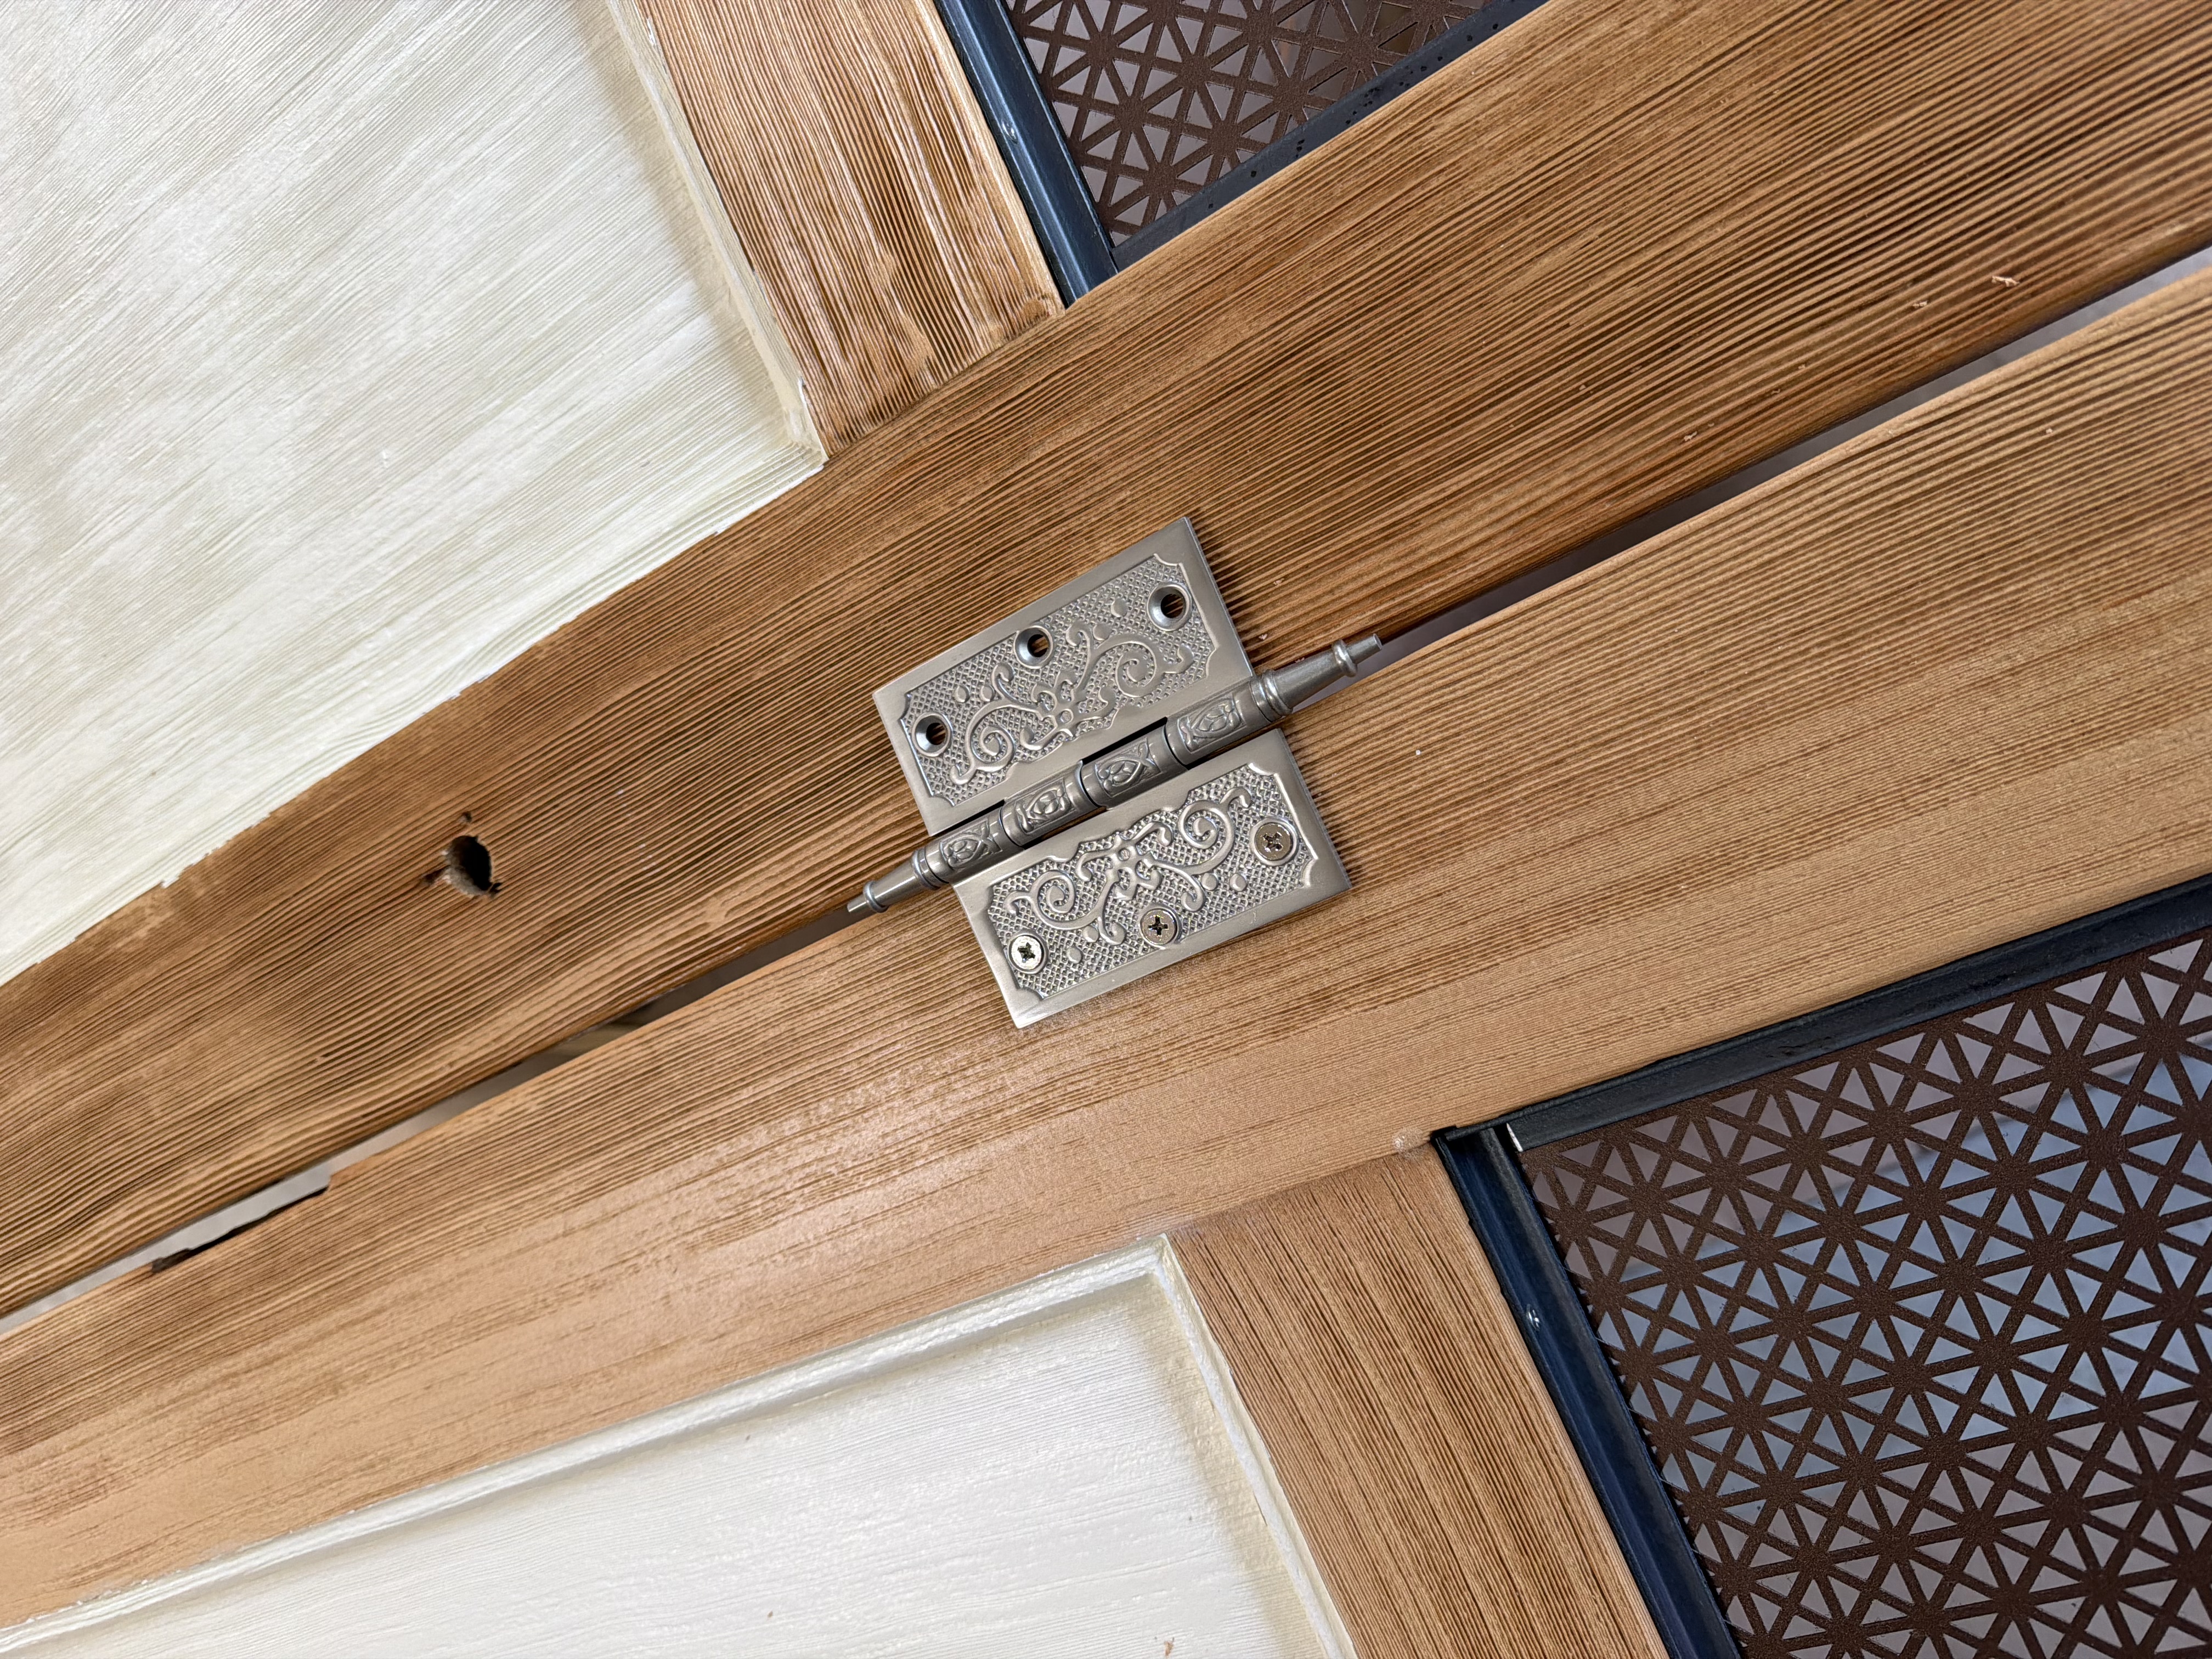
With the panels completed, it was time to attach everything, face-mounting ornate hinges to the doors to showcase the design. A strap hinge, barn hinge, or vintage brass would have been other good options, but scouring the internet, finding four matching hinges with a look that complemented the door panels was trickier than expected.
The final step is optional, since angling the doors in an accordion style would create a free-standing divider. However, I decided to add feet to each door for more support, and once again, Etsy came to the rescue! I selected cast-iron shelf brackets for this task, which worked perfectly with the design's aesthetic. I chose 1" x 3" oak for the feet and used the same sealer as on the door frames. I used a router to bullnose both sides of the oak so they would slide easily on the carpet in my office, which makes moving the doors around a snap!
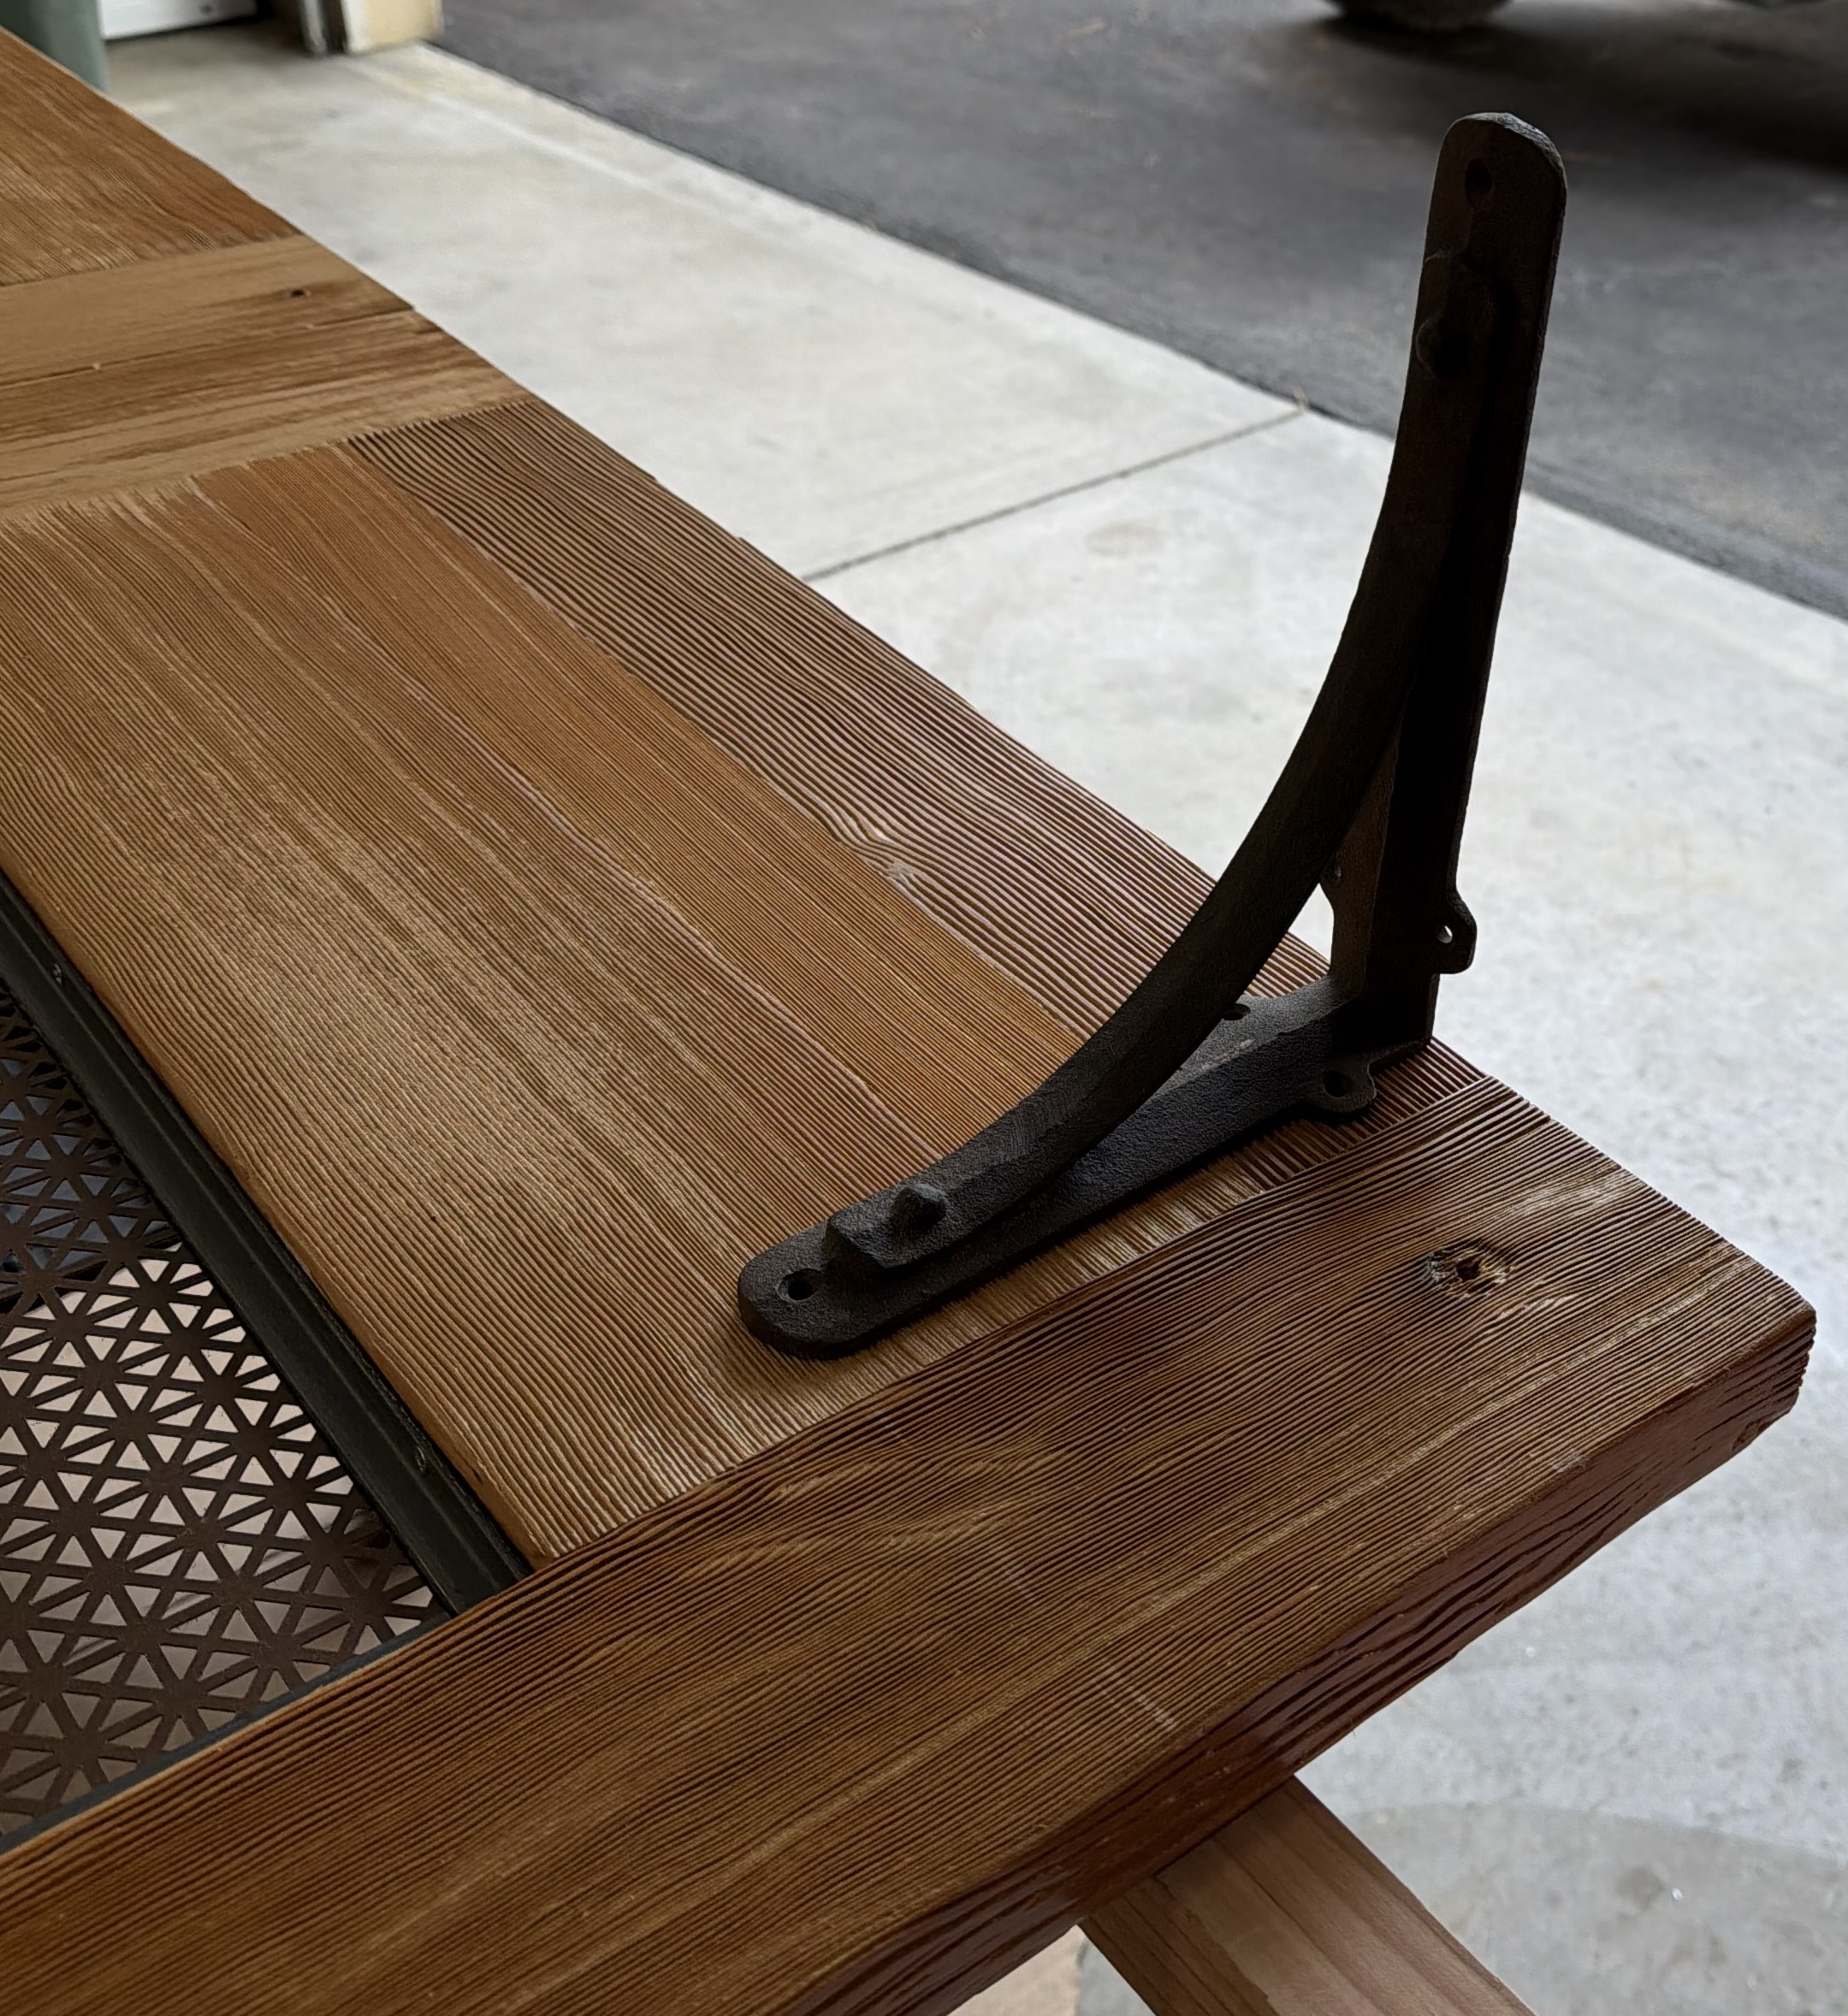
The finished product came out as well as I hoped!
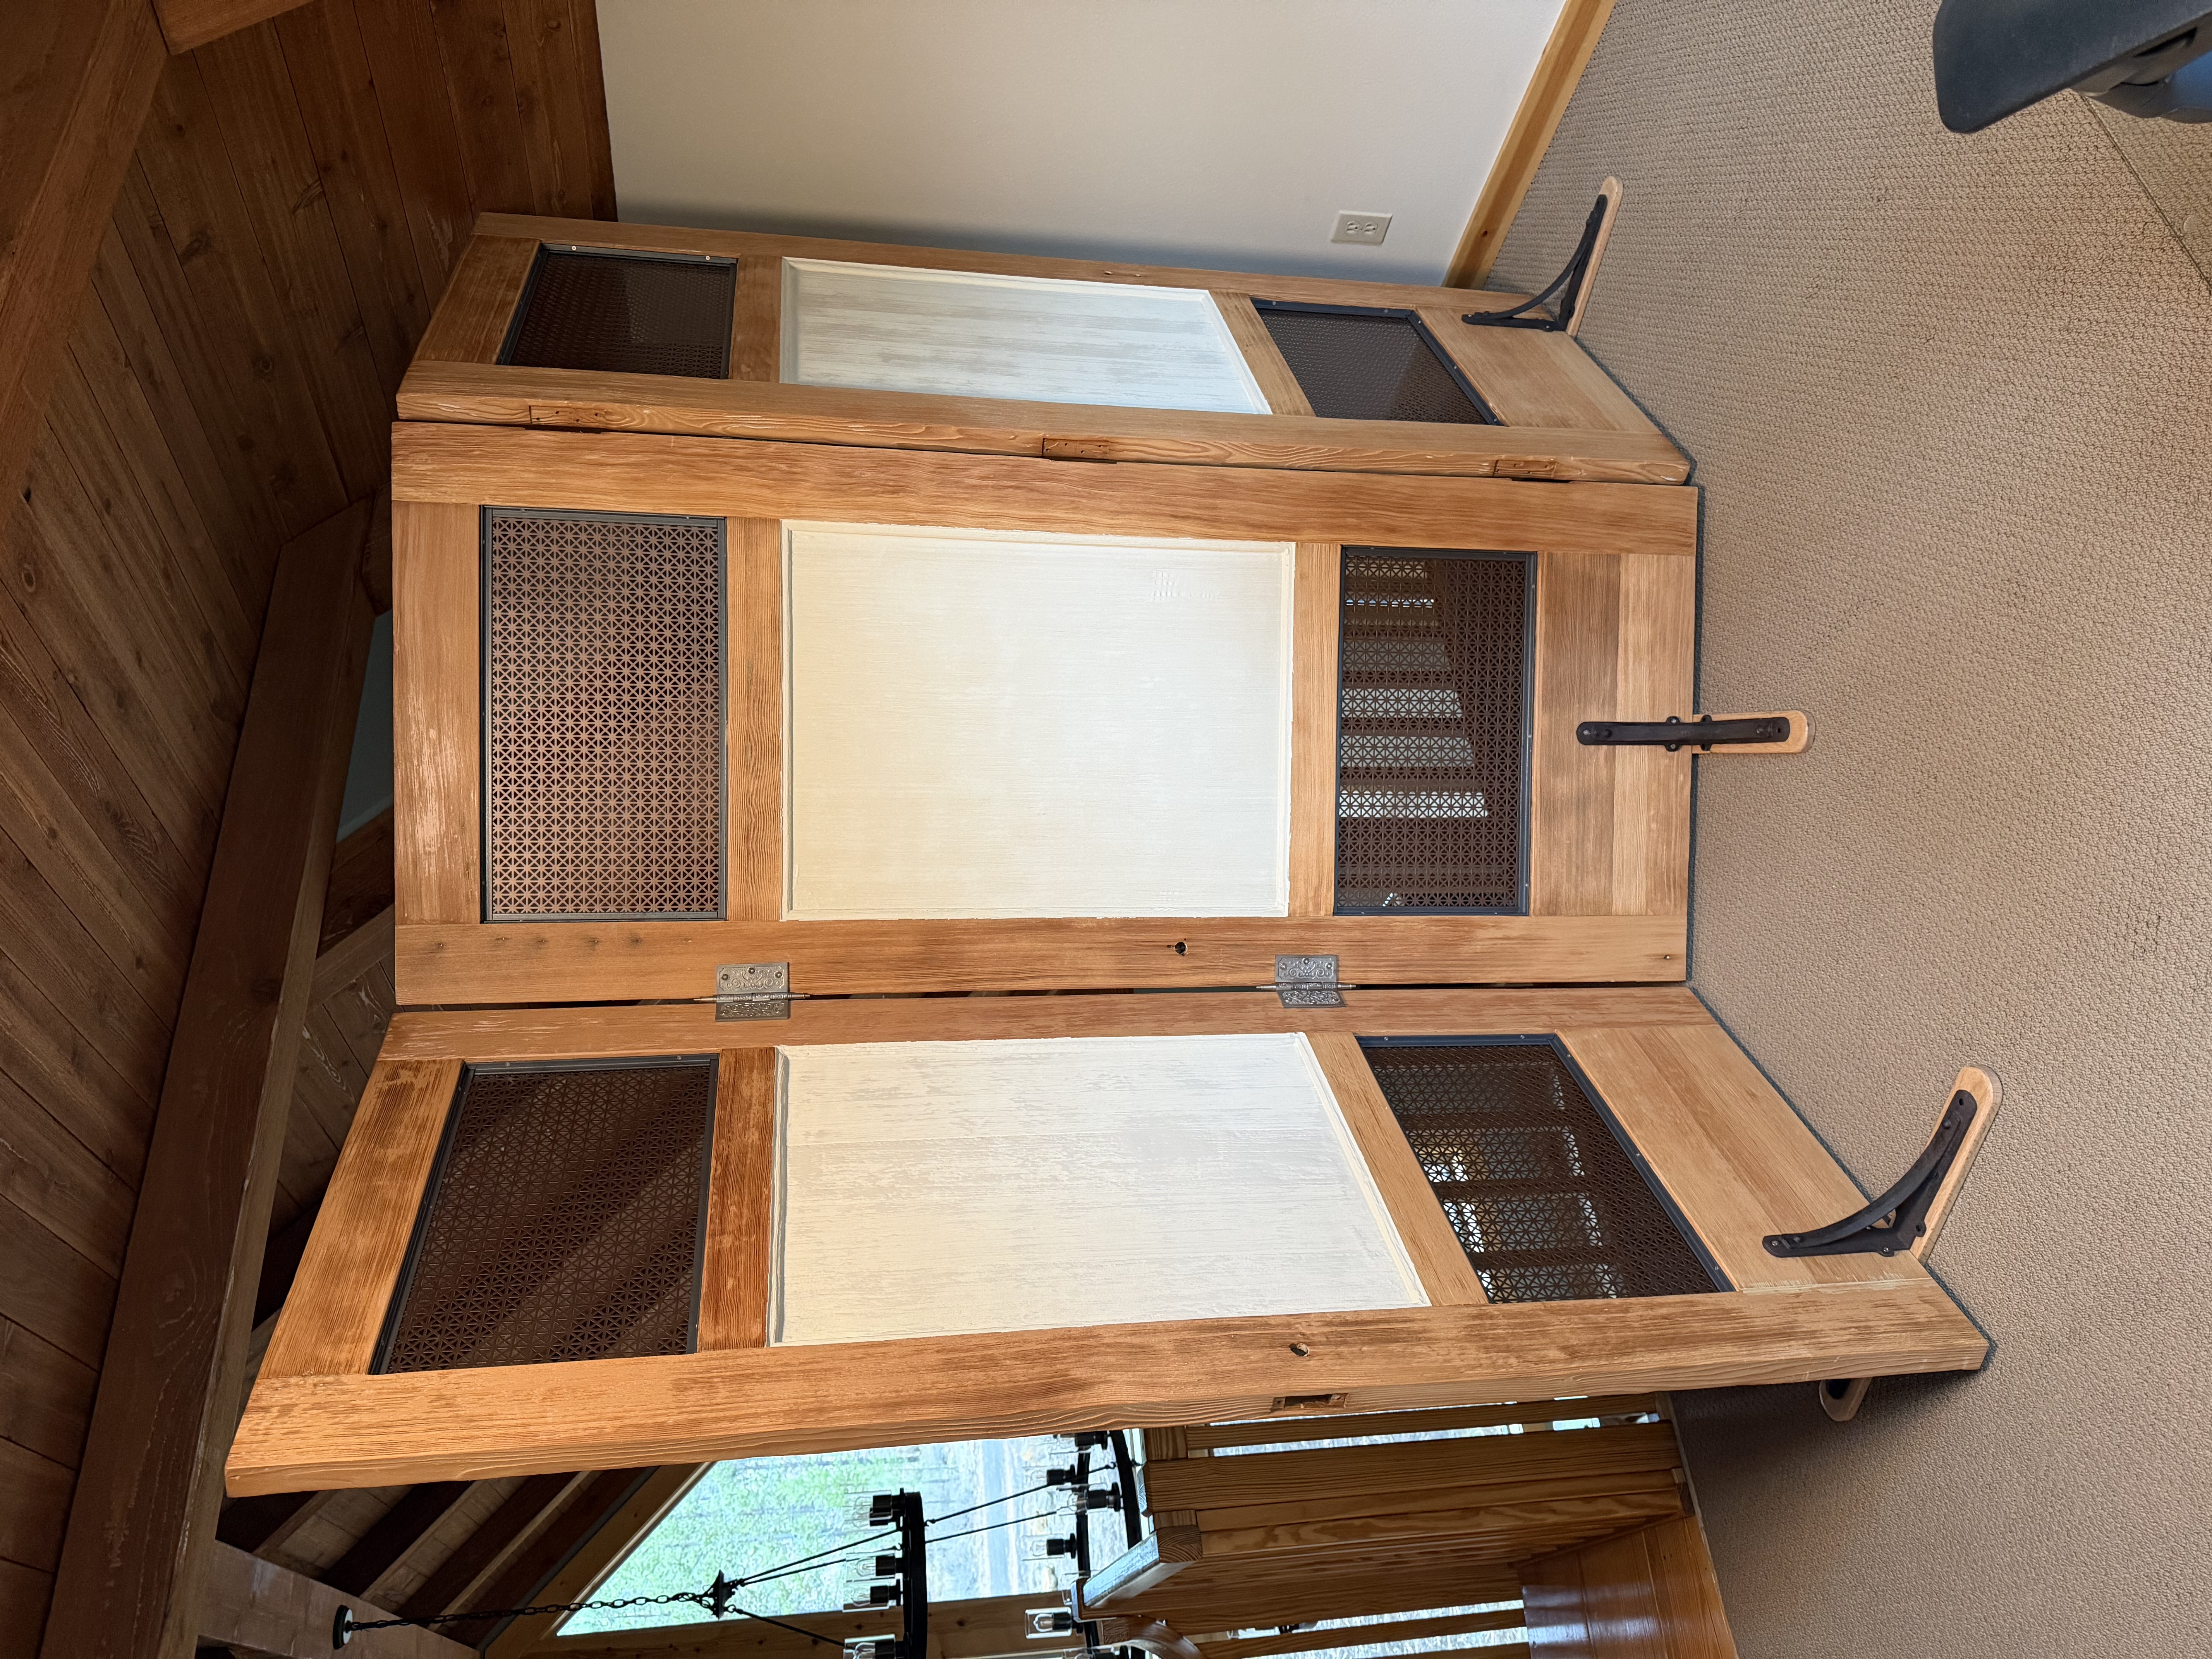
Nothing in this project was overly complicated, but it was time-consuming and required a fair amount of tools.
There are many ways to create room dividers with a variety of materials, so get creative and make your own!
